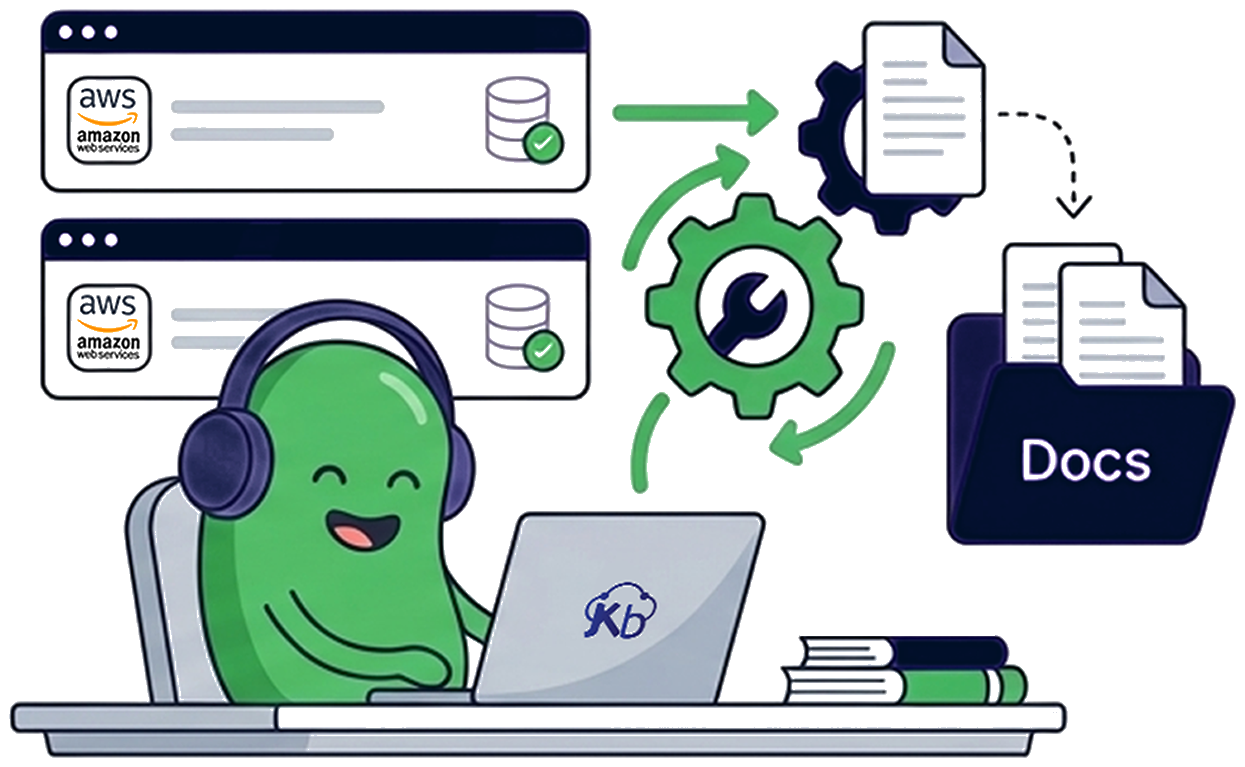
Quick Start Guides
New to KloudBean? Get started quickly with our step-by-step guides. From creating your account to deploying your first application, we've got you covered.
Documentation Categories
Explore our comprehensive documentation organized by category. Find guides, tutorials, and references for everything you need.
Getting Started
Learn the basics of setting up your KloudBean account and deploying your first application
View Guides →User Account
Manage your account settings, profile, security, wallet, and team members
View Guides →Application Deployment
Step-by-step guides for deploying various frameworks and applications
View Guides →Application Management
Manage your deployed applications, domains, SSL certificates, and more
View Guides →Server Management
Configure and manage your servers, monitoring, backups, and security
View Guides →Launching Databases
Set up and launch various database types including MySQL, PostgreSQL, MongoDB
View Guides →Database Management
Manage database access, backups, and monitoring
View Guides →Load Balancers
Configure and manage load balancers for high availability
View Guides →AI & Tools
Deploy and manage AI tools and development platforms
View Guides →Comprehensive Documentation & Guides
Everything you need to deploy, manage, and scale your applications on KloudBean. Our detailed guides help you get started quickly and master advanced features.

One-Click Deployments
Streamline your deployment process with KloudBean's intuitive one-click deployment feature. Our guides provide step-by-step instructions for deploying various applications and frameworks, ensuring your projects go live quickly and efficiently.
Enterprise-Grade Security
Protect your applications and data with KloudBean's robust security features. Our documentation covers everything from setting up firewalls and SSL certificates to implementing advanced access controls and understanding DDoS prevention.
Scalable Infrastructure
Build and scale your infrastructure with ease on KloudBean. Our guides help you understand server management, resource allocation, and how to optimize your environment for peak performance and growth.