In this guide, we'll walk you through the simple process of launching a static site on KloudBean and uploading your content. KloudBean provides an easy-to-use platform for hosting static websites, allowing you to quickly get your site online without any complex configurations. Whether you're deploying HTML, CSS, JavaScript, or other static assets, KloudBean makes it seamless to host your site with minimal effort.
Let's now see a demo of how to do this in action!
Step 1: Launching new static site
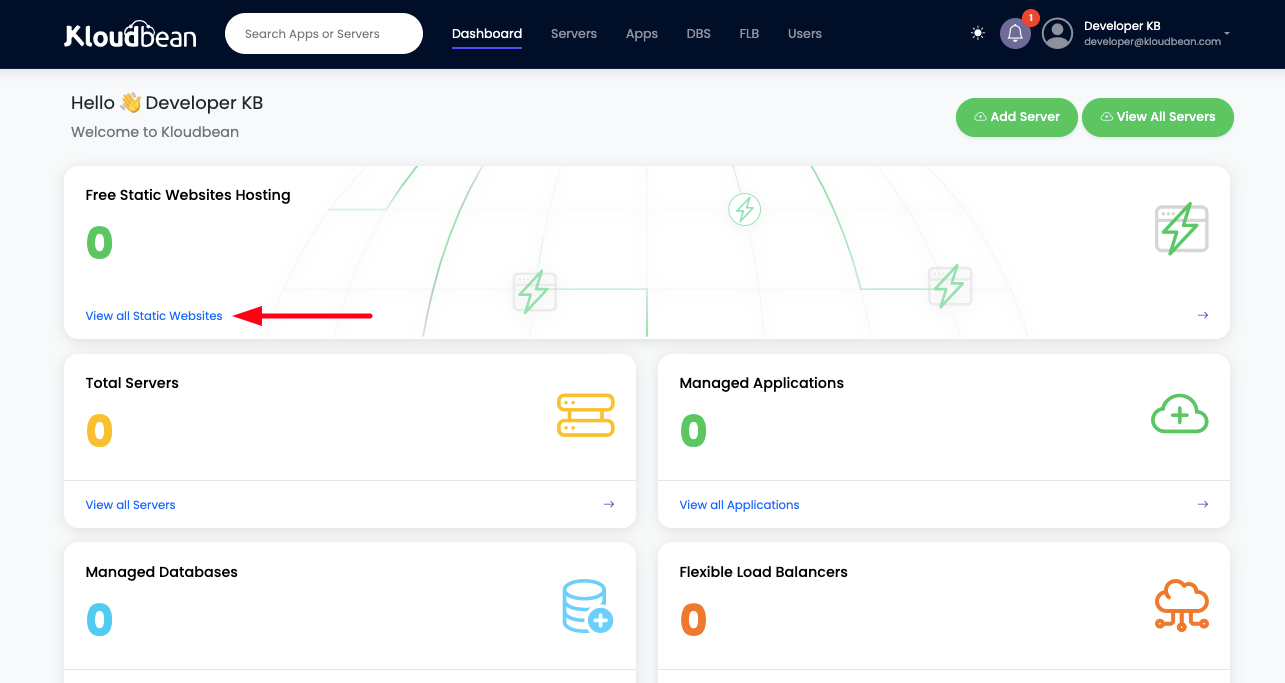
In order to create new static site, Go to Free Static Website Hosting section from Kloudbean dashboard.
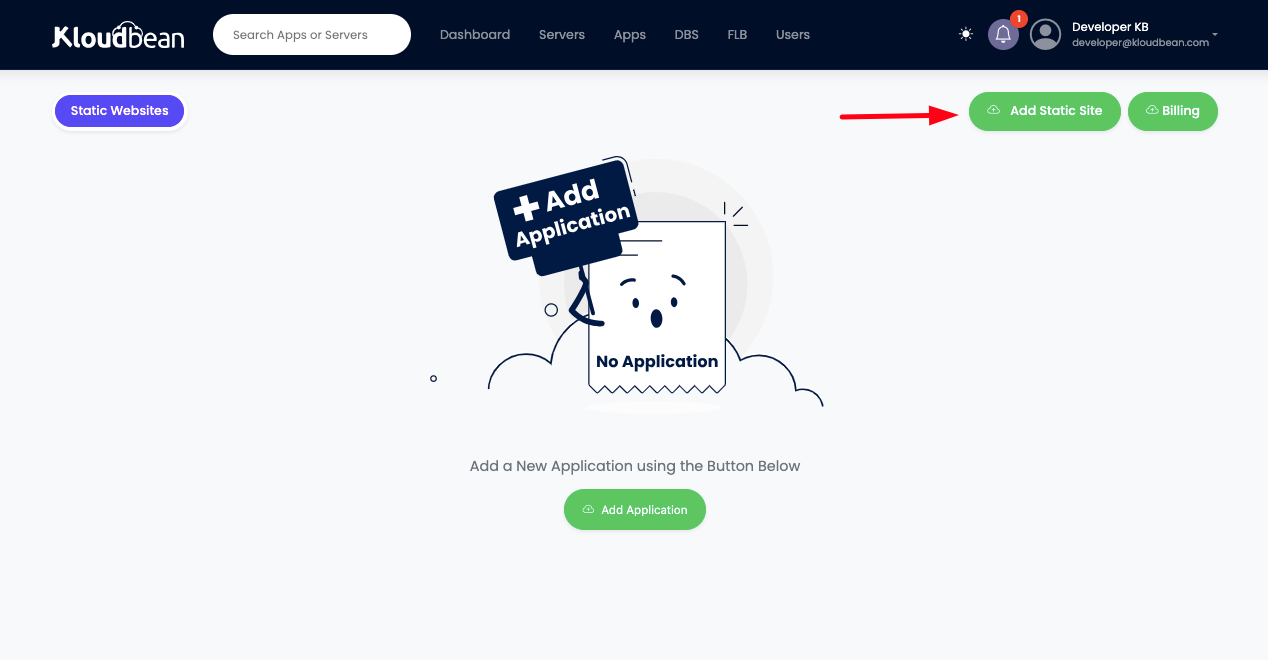
Once you are in Static Sites section, Click on Add Static Site button to launch new site.
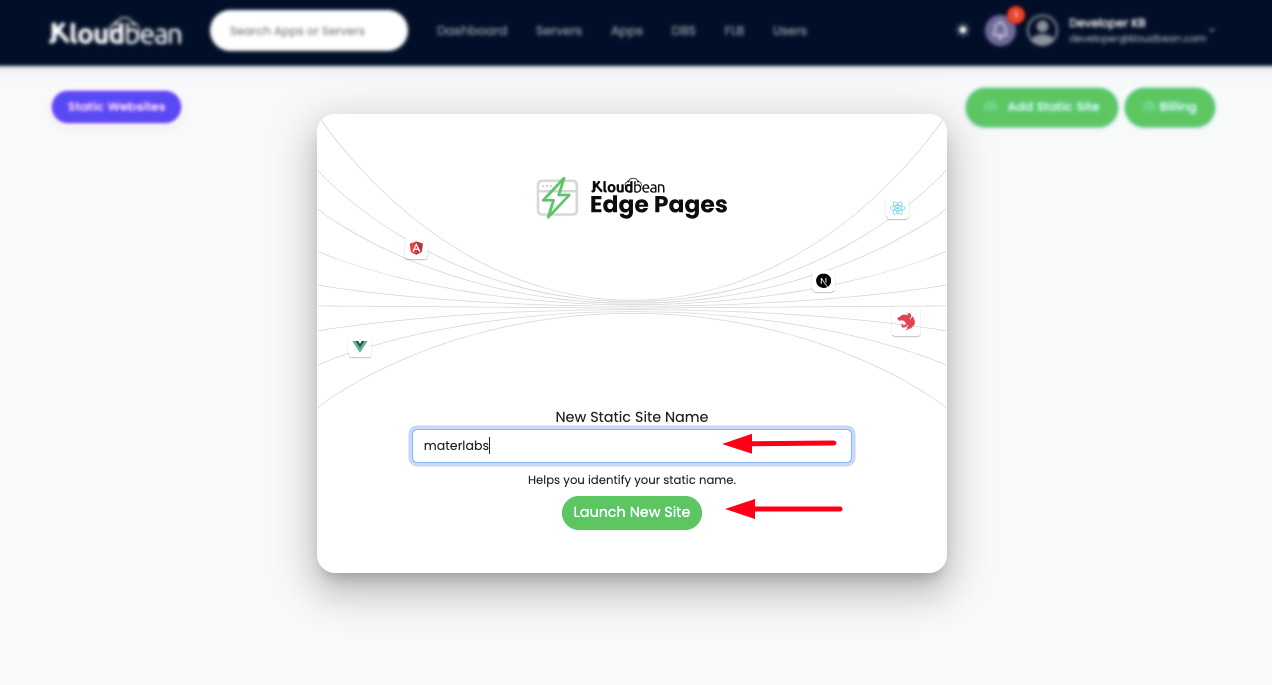
A prompt will open, ask you for the site name. Note that site name is important as you are going to get same name as your default access your. however you can add you custom domains as well.
Insert your site name hit Launch New Site.
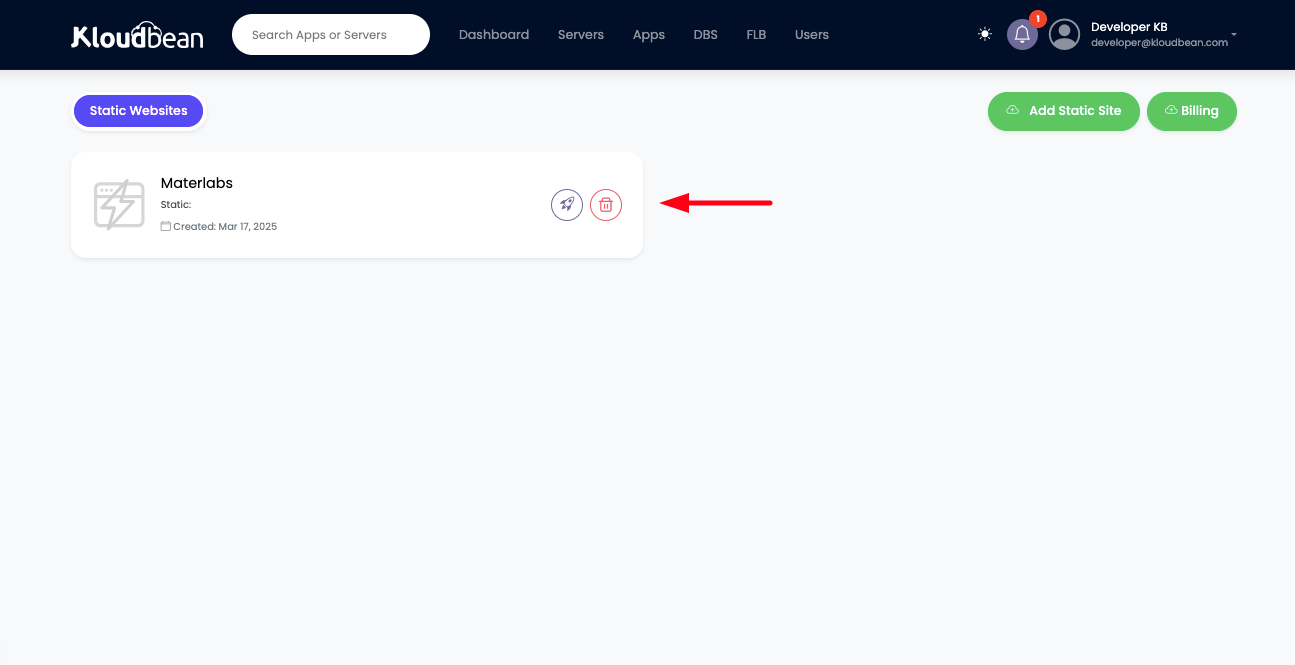
After that you will see a new site added, but currently there is not site url is available yet, it is because site url takes 6 - 8 minutes to get complete DNS propagation around the world.
Also you see the icon of this app is currently gray, its because we have not yet uploaded any content to this site, it's an empty site.
Let's move ahead, Click on this site to access it's administration panel and to upload our site content.
Step 2: Upload Site content
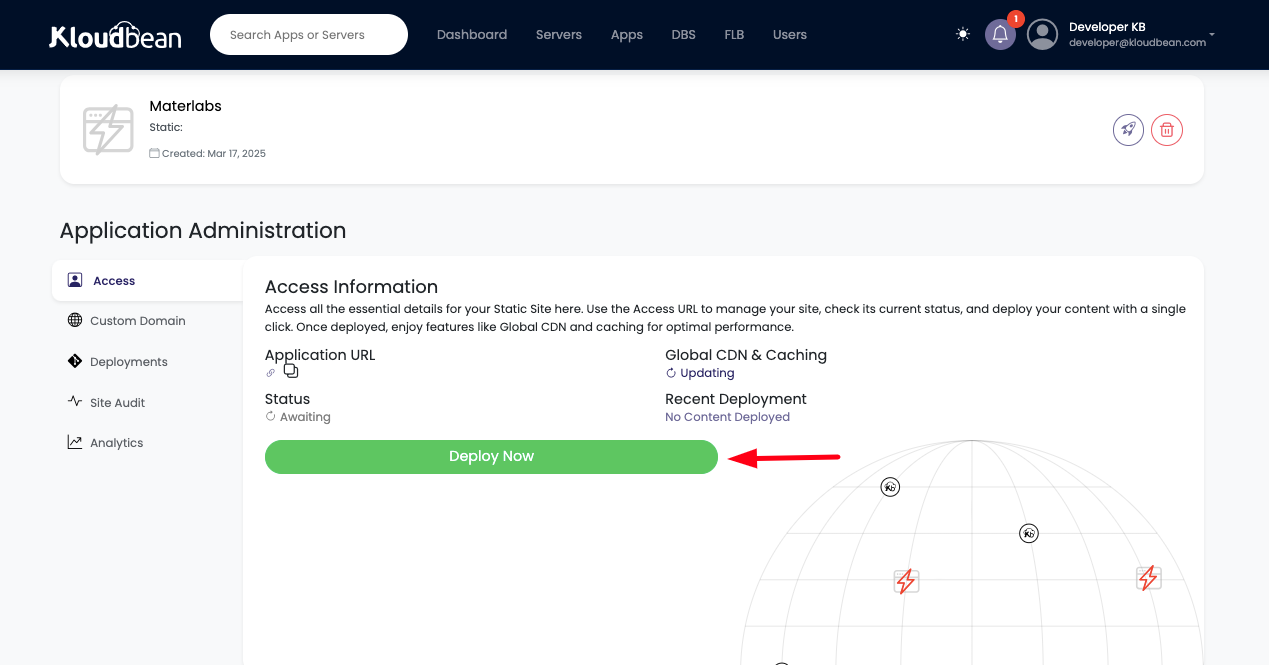
In the Access tab, you will see a button Deploy now, by clicking on this button, It will take us to deployment section, where we will be able to upload static content zip file.
Click on Deploy Now.
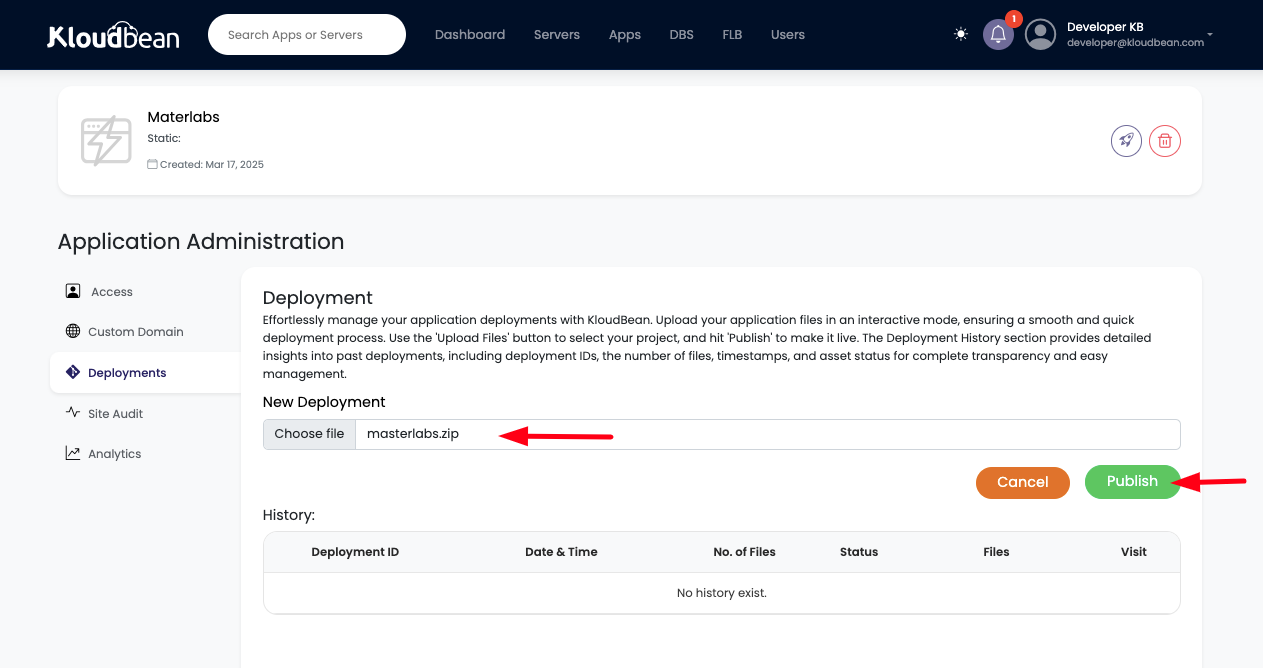
We are redirected to Deployment section. where we can choose file to upload.
In this example I'm going to upload my site content masterlabs.zip. Once file selected click on Publish button, to upload this content file and perform deployment.
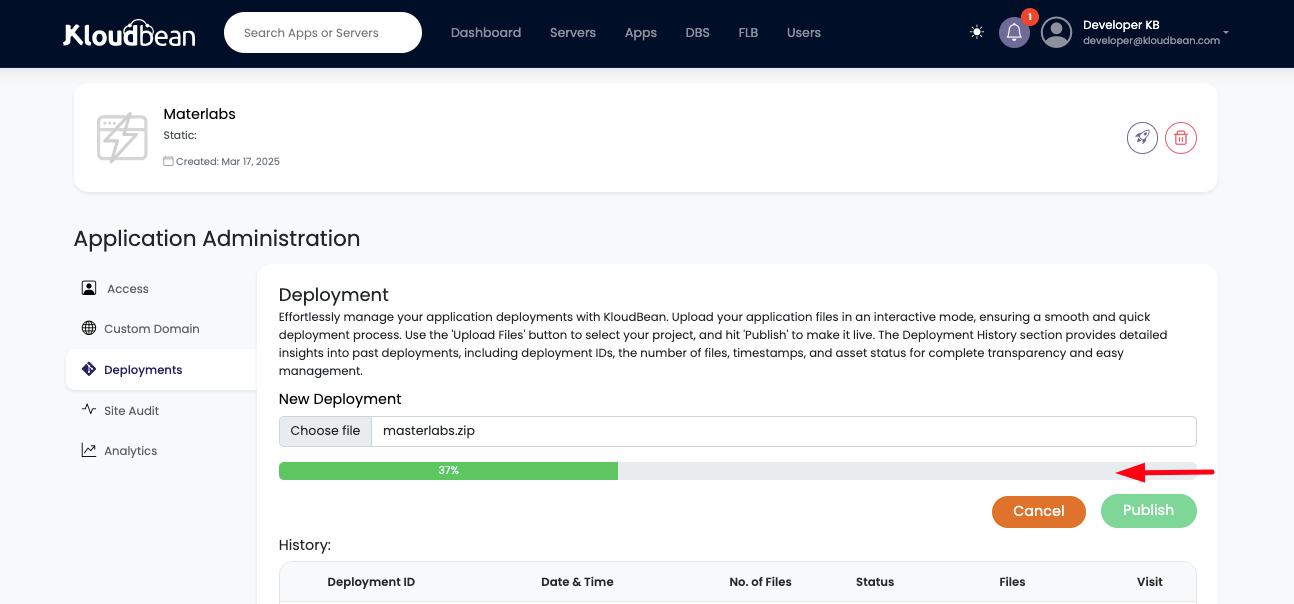
By clicking on Publish button. we will see upload is in progress.
Let's wait until uploading and deployment gets 100% complete.
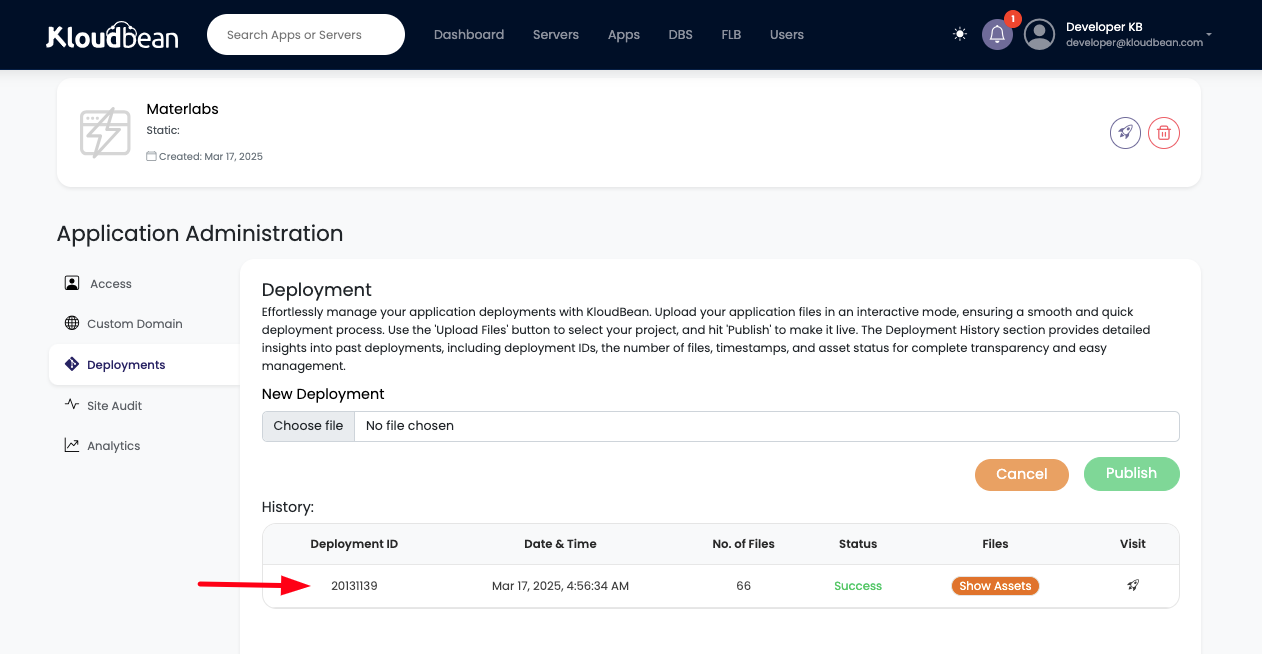
Once uploading and deployment is completed, we will see a deployment is added in History which shows no of files that are uploaded and Show Assets button to view the files and a Launch icon to access this deployment version specifically.
If status of deployment is success, it means our deployment is completes with success and we should be able to access or site.
Step 3: Accessing the site using default URL
Go to Access tab and here we should see green colored Live tag, which represent site is currently live and ready to access, with an Application URL that just appeared once DNS propagation is complete.
Global CDN status says that global caching has been enabled, please note that by this moment caching has been enabled, but as a matter of fact, caching takes upto 24 hours to fully replicate cache content on edge locations. so you might see slower site access until caching fully replicated.
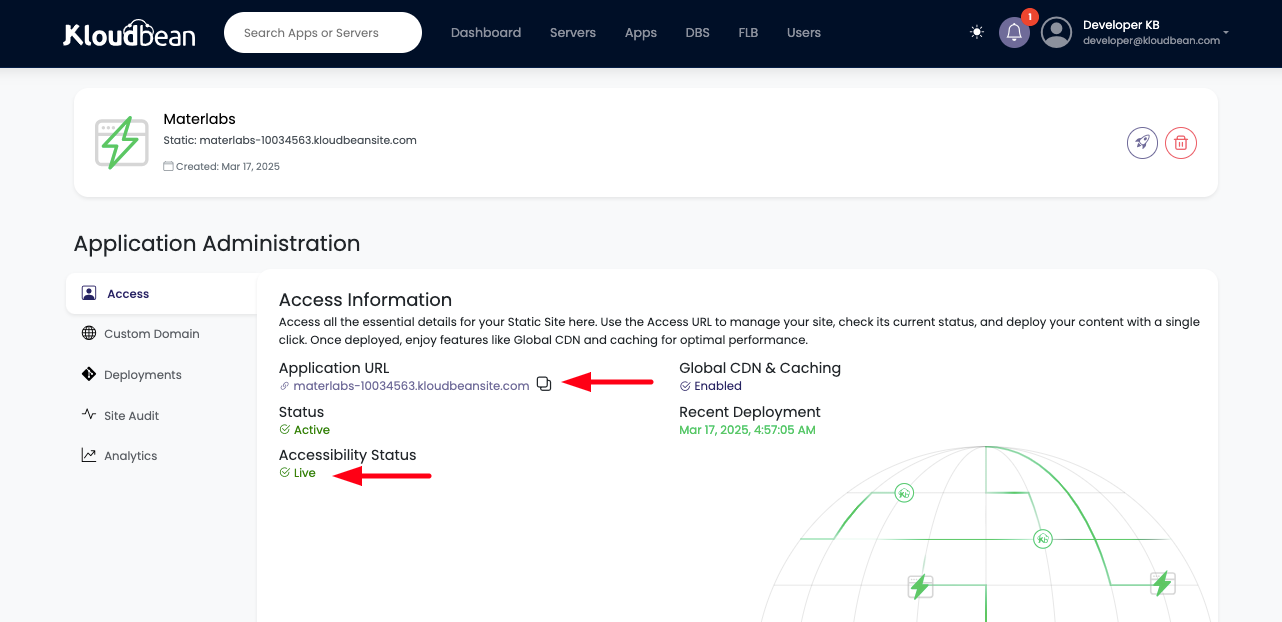
By clicking on Application URL or the launch icon on top, we should be able to access site using default provided url.
Read this to learn how to add custom domains?
Conclusion
KloudBean makes launching static sites fast, easy, and reliable, providing you with a hassle-free way to host your content on the cloud. With just a few simple steps, your static site is up and running, ready to deliver high-quality performance. Start hosting your static site with KloudBean today and enjoy seamless, scalable hosting for your web content!
If you encounter any issues while uploading your static site to KloudBean, our support team is available 24/7 to assist you.