If a user makes three incorrect login attempts, they will be blocked from accessing Kloudbean servers or any services like SSH, SFTP, File Manager, and MySQL. This security measure helps prevent unauthorized access.
Additionally, if the server administrator has enabled BitNinja, they can restrict access from certain countries. This means that users from those countries won't be able to access the server or any URLs hosted on it.
To ensure that specific users or locations can still access the server despite these restrictions, the administrator needs to add their IP addresses to the whitelist. This can be done in the console under the Bruteforce Prevention settings and in the BitNinja firewall settings.
How to Enable Bitninja from kloudbean console
Log in to your Koudbean Console using your credentials.
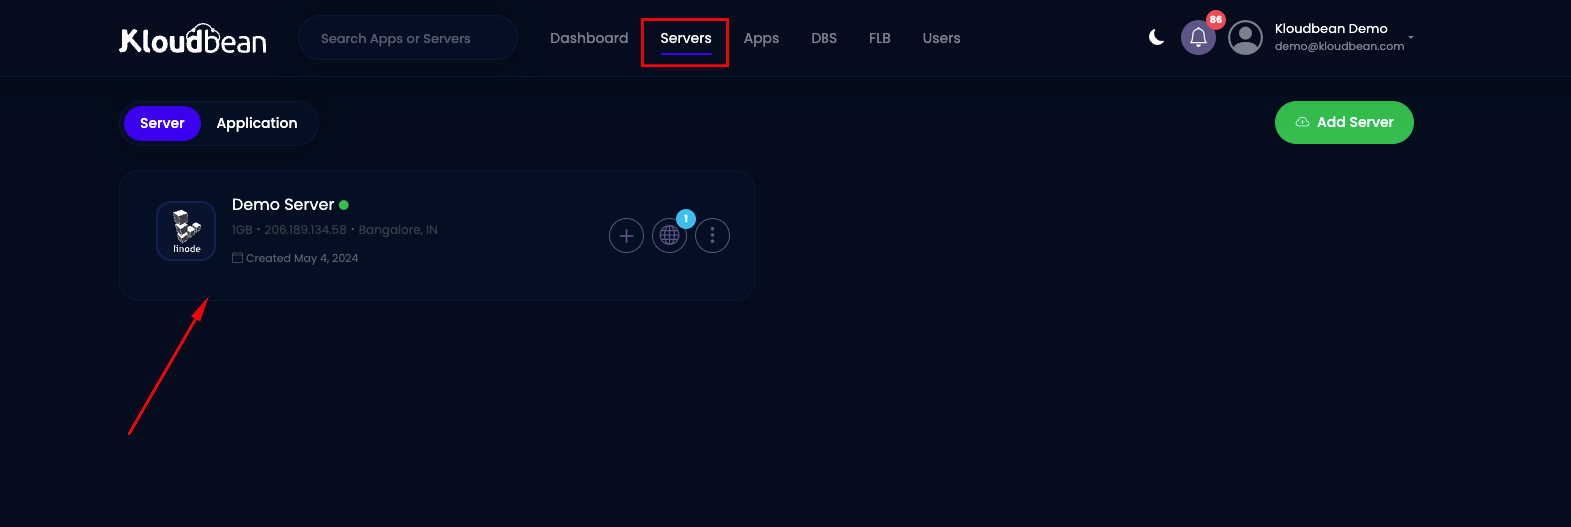
Step 1: Go to Server Adminstration
Once you've selected the server where you want to whitelist the IP address, navigate to the server administration panel and select "Bitninja Security."
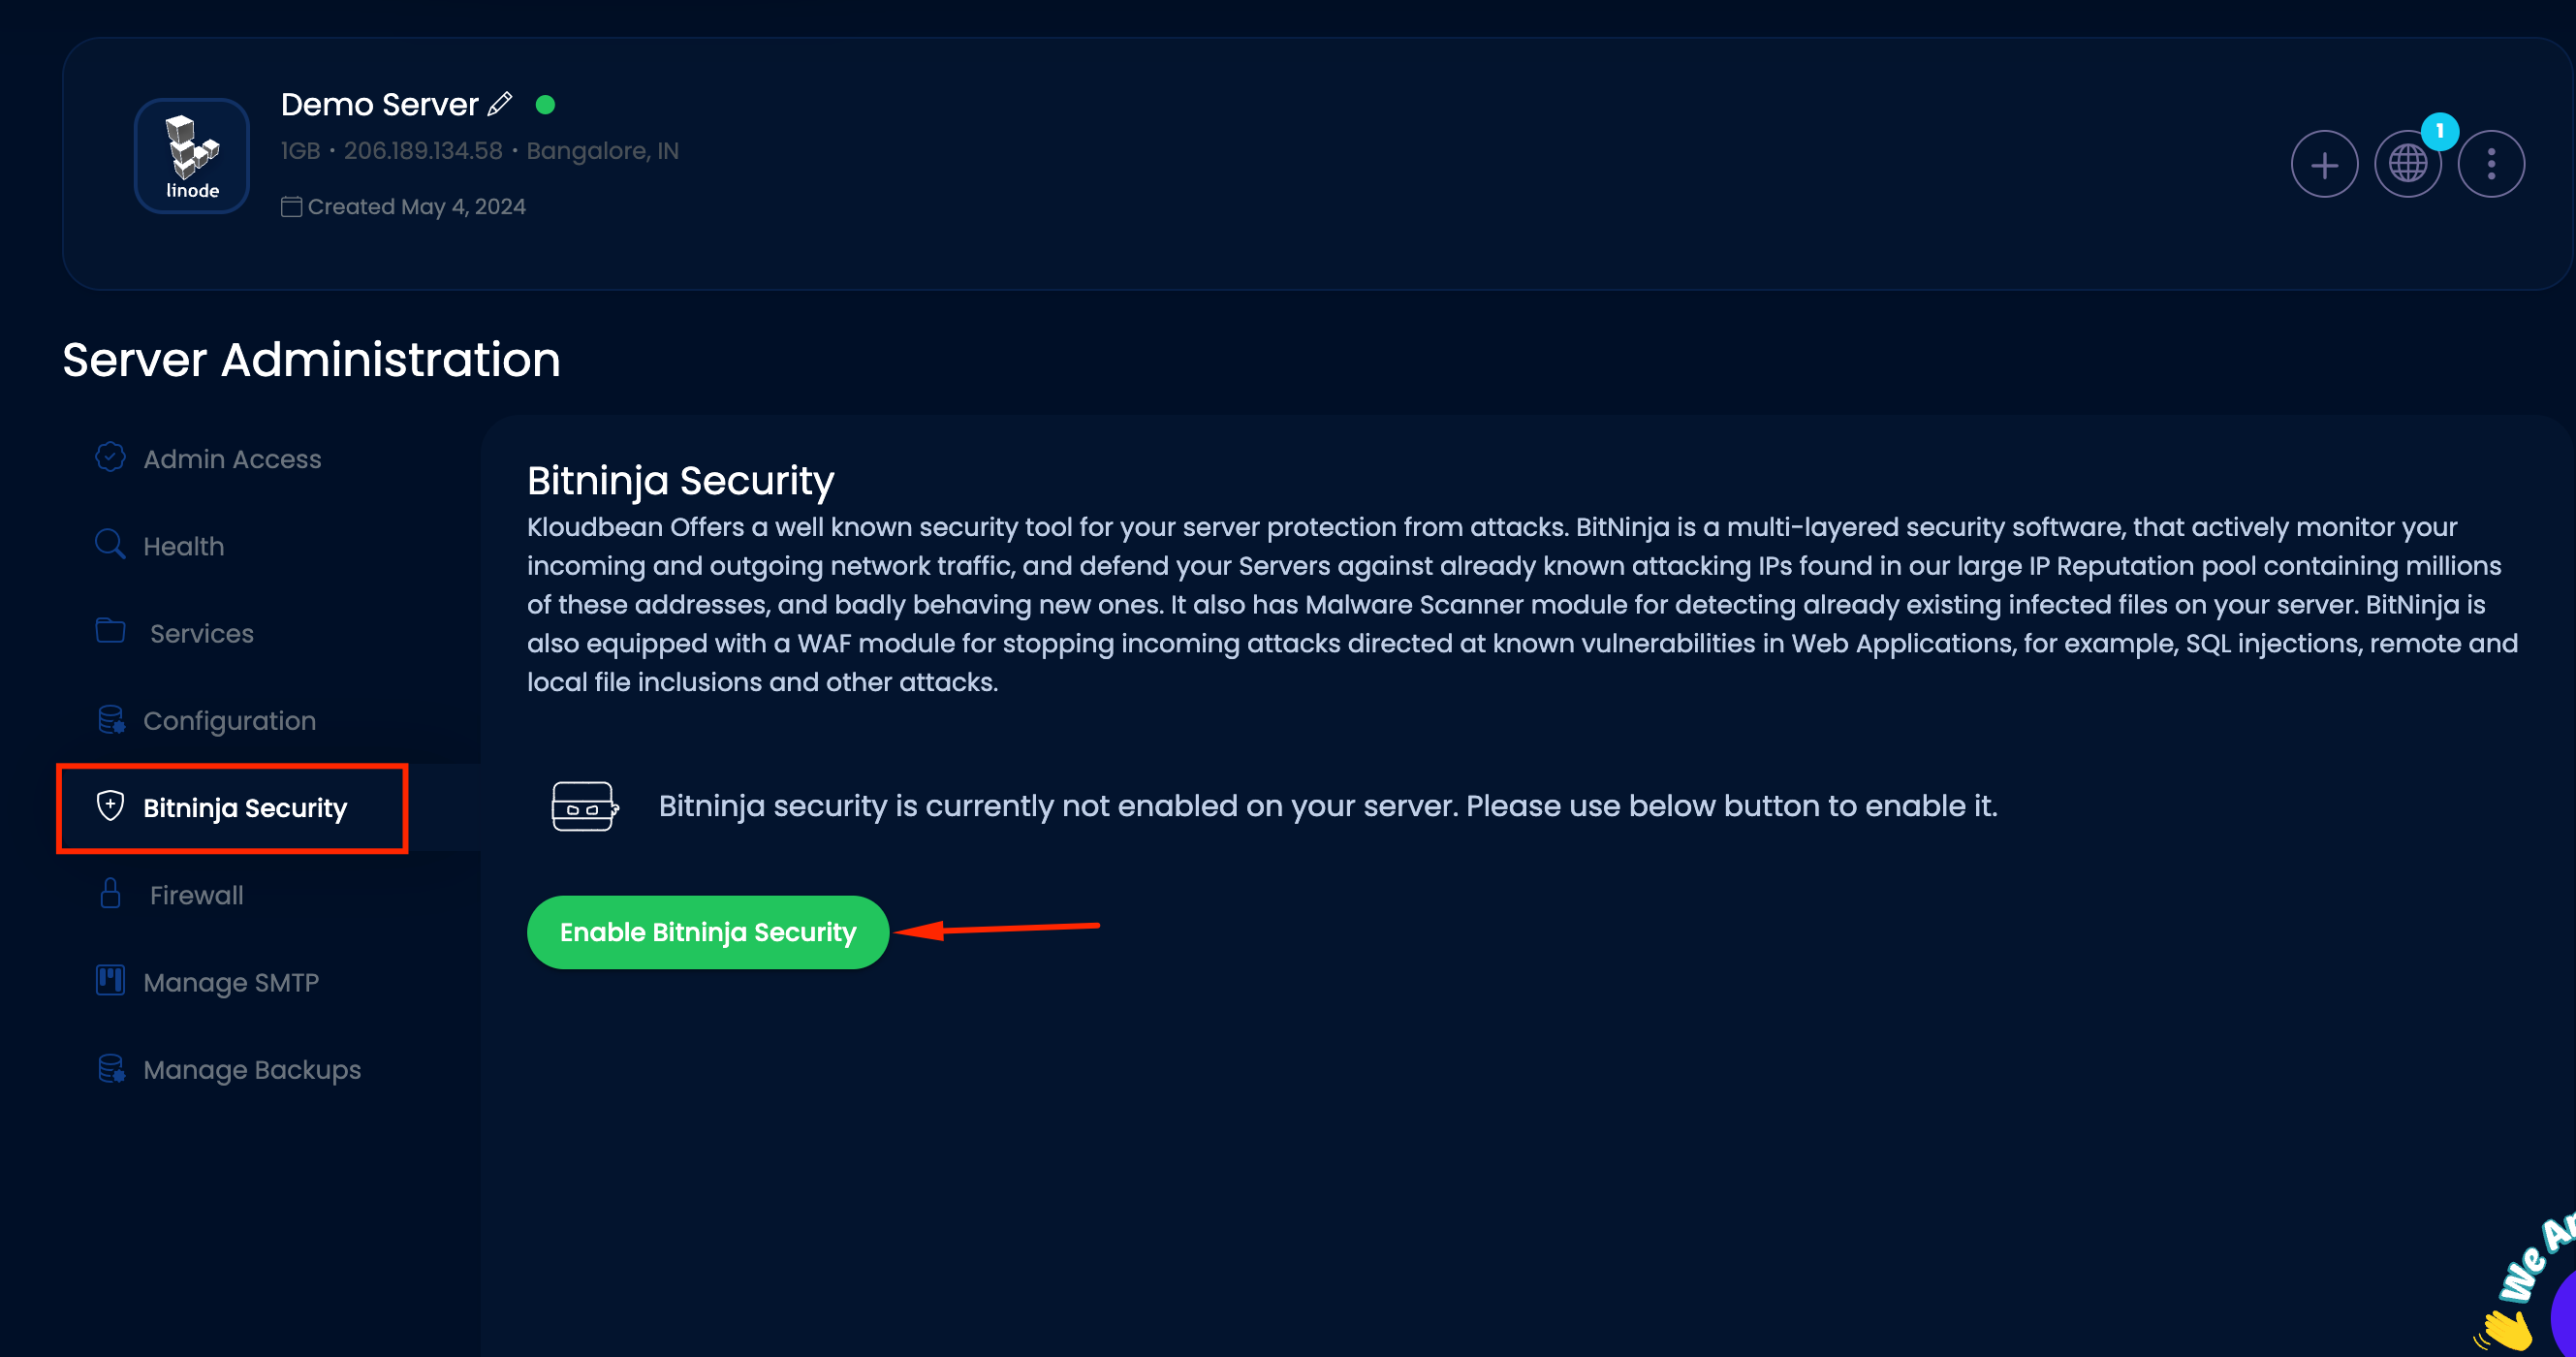
Step 2: Enable Bitninja
Sure, here are the steps listed in a sequential order:
1. Choose "Bitninja Security" from the menu on the left.
2. Click on the "Enable Bitninja Security" tab.
3. Pop-Up will be coming for confirmation.click on yes
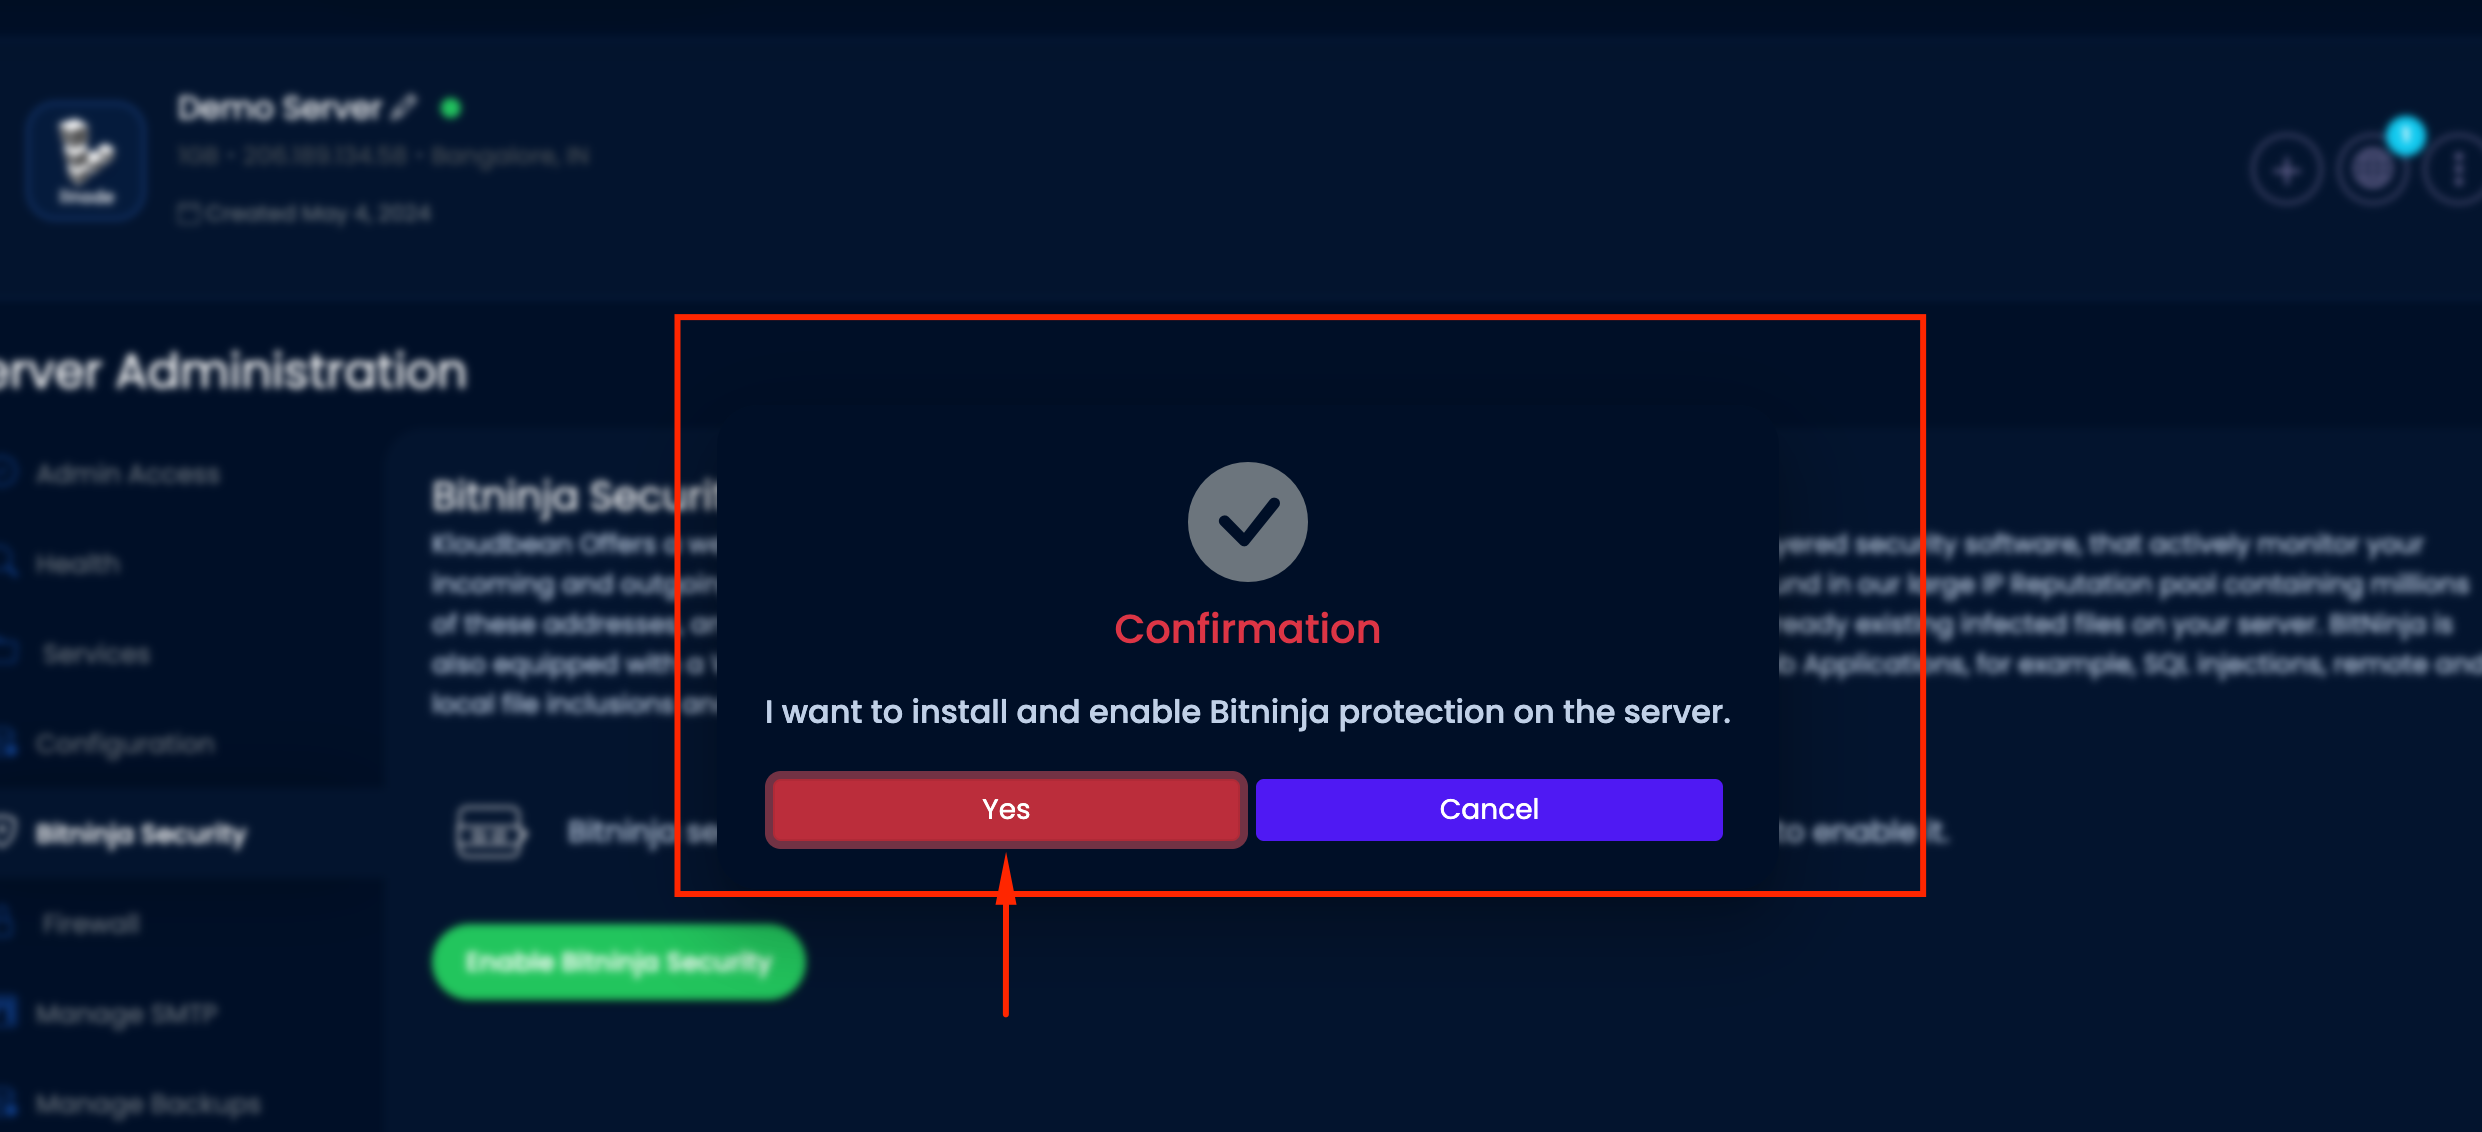
4. It will take few min and Bitninja will be installed on server
5. Once Bitninja will be installed it will be enabled on server
6. Users can easily access the BitNinja Dashboard by clicking on the "Launch Bitninja Dashboard" button. The username and password for accessing the dashboard are automatically generated and displayed on the console.
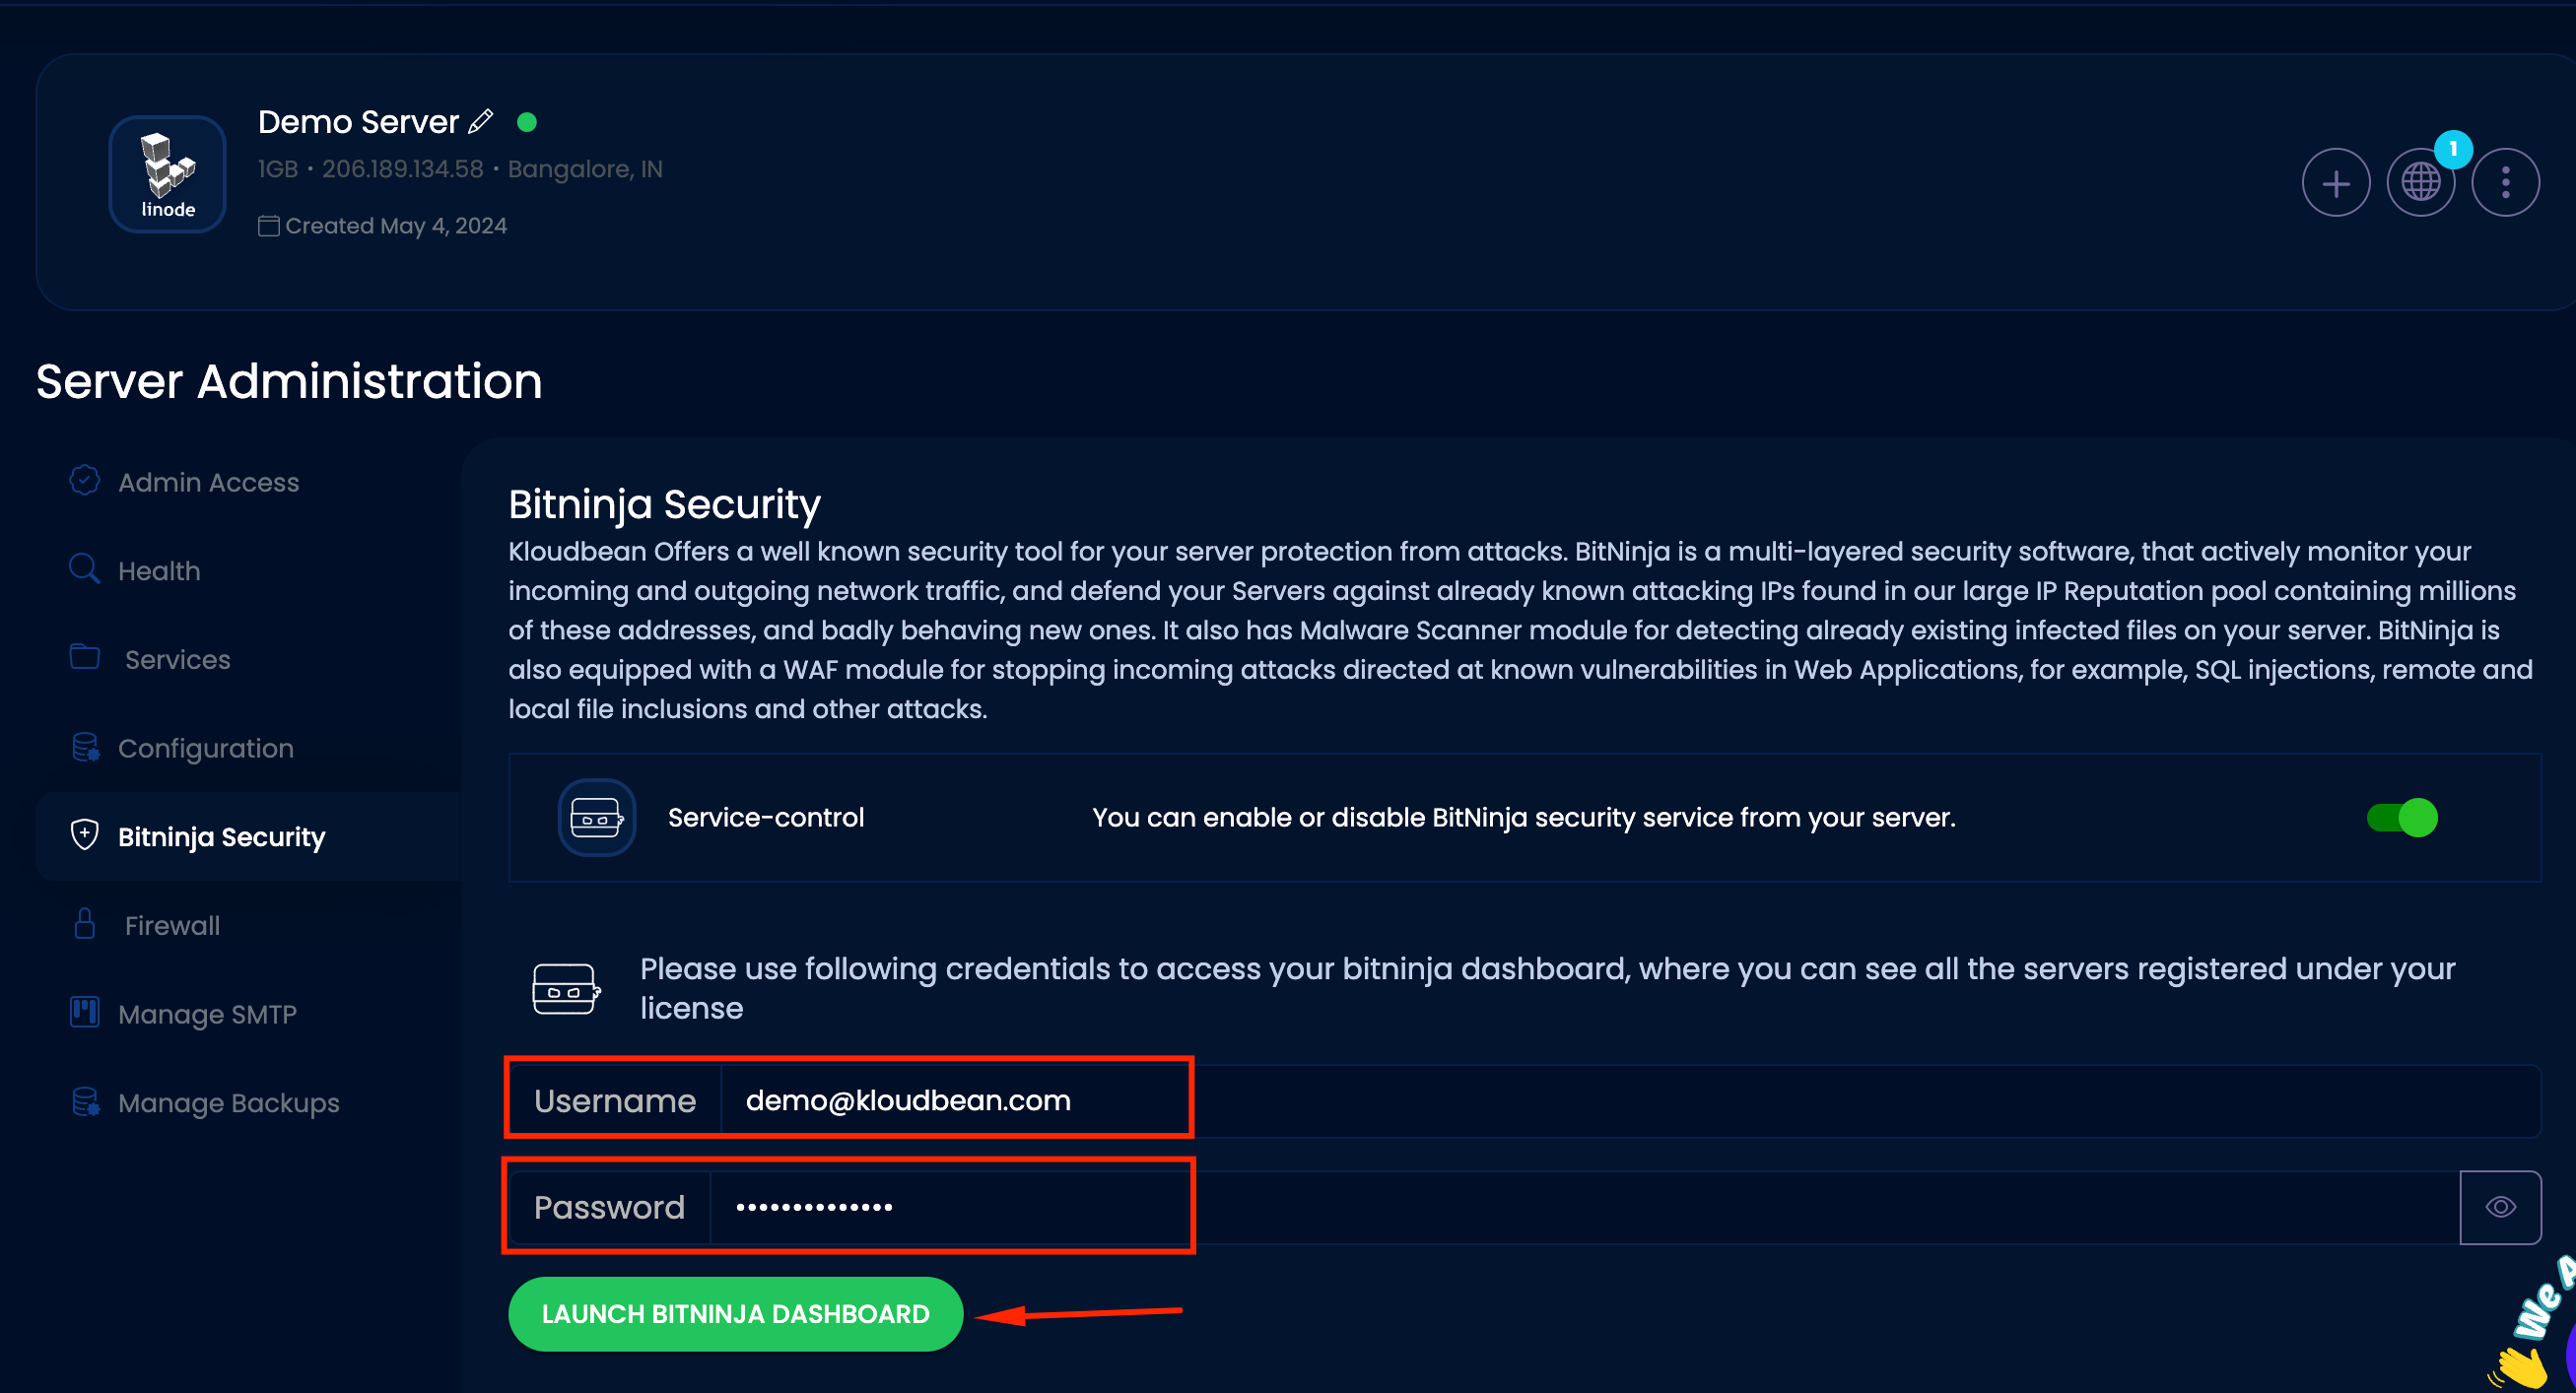
Note : By default, BitNinja is not enabled on the server. Users need to manually enable it.
Step 3. Disable BitNinja
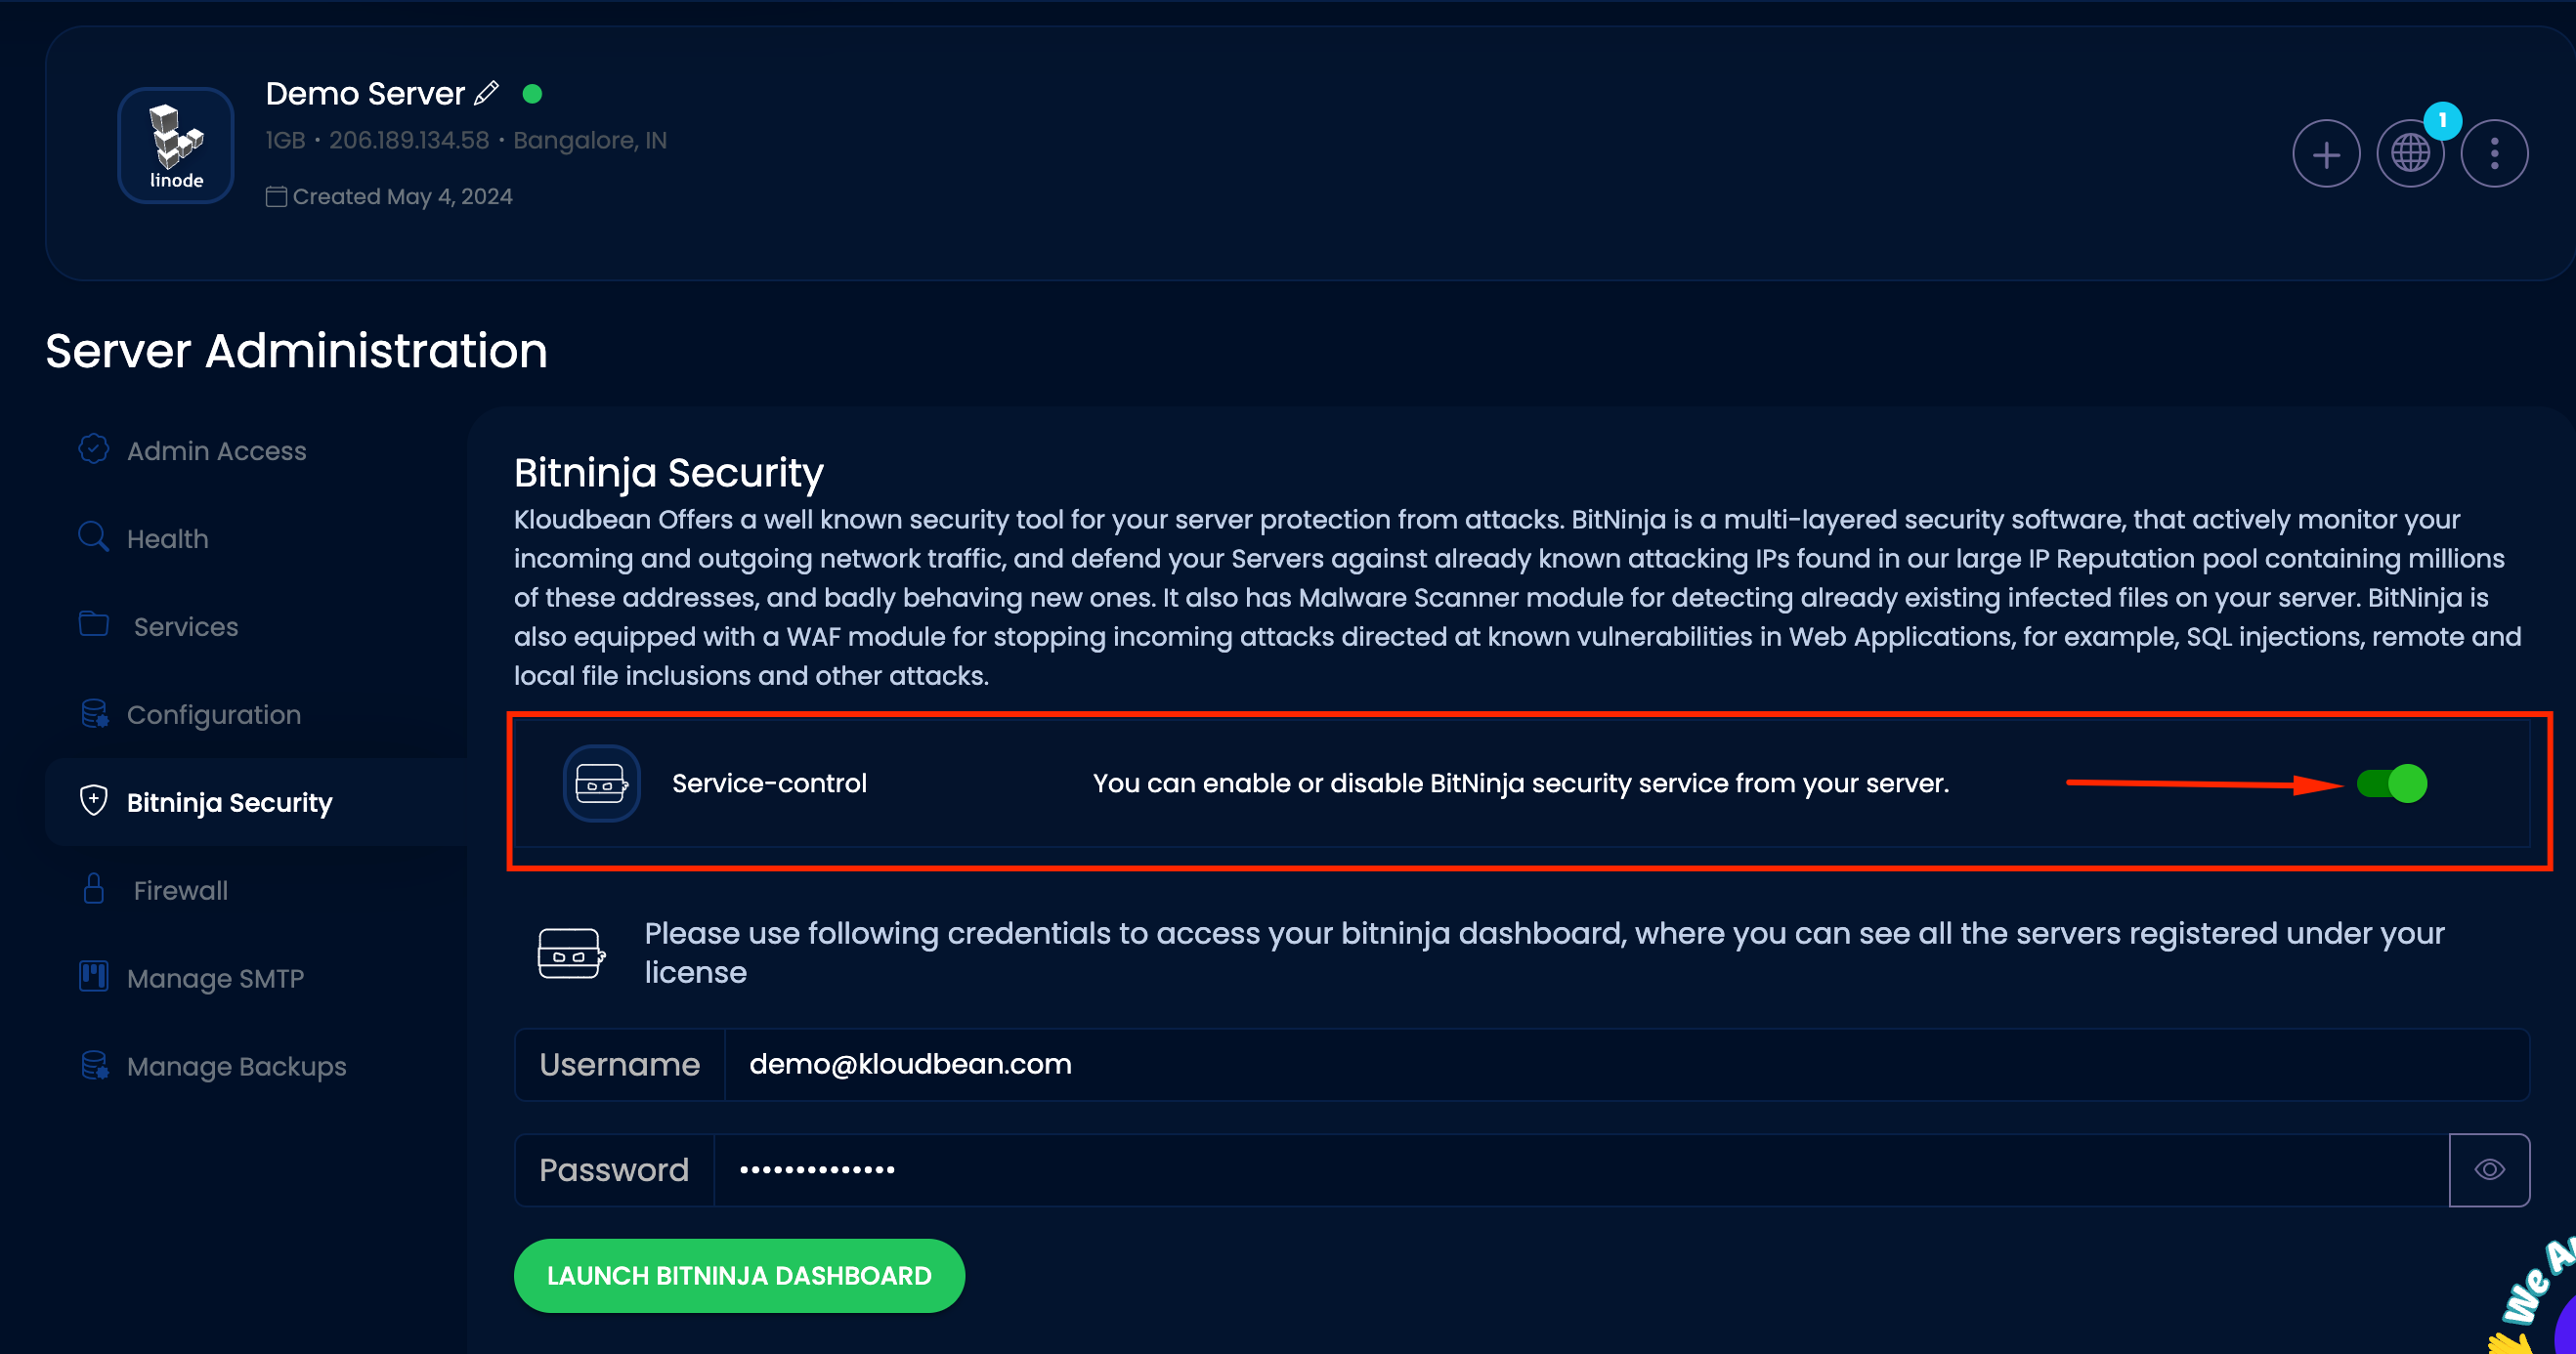
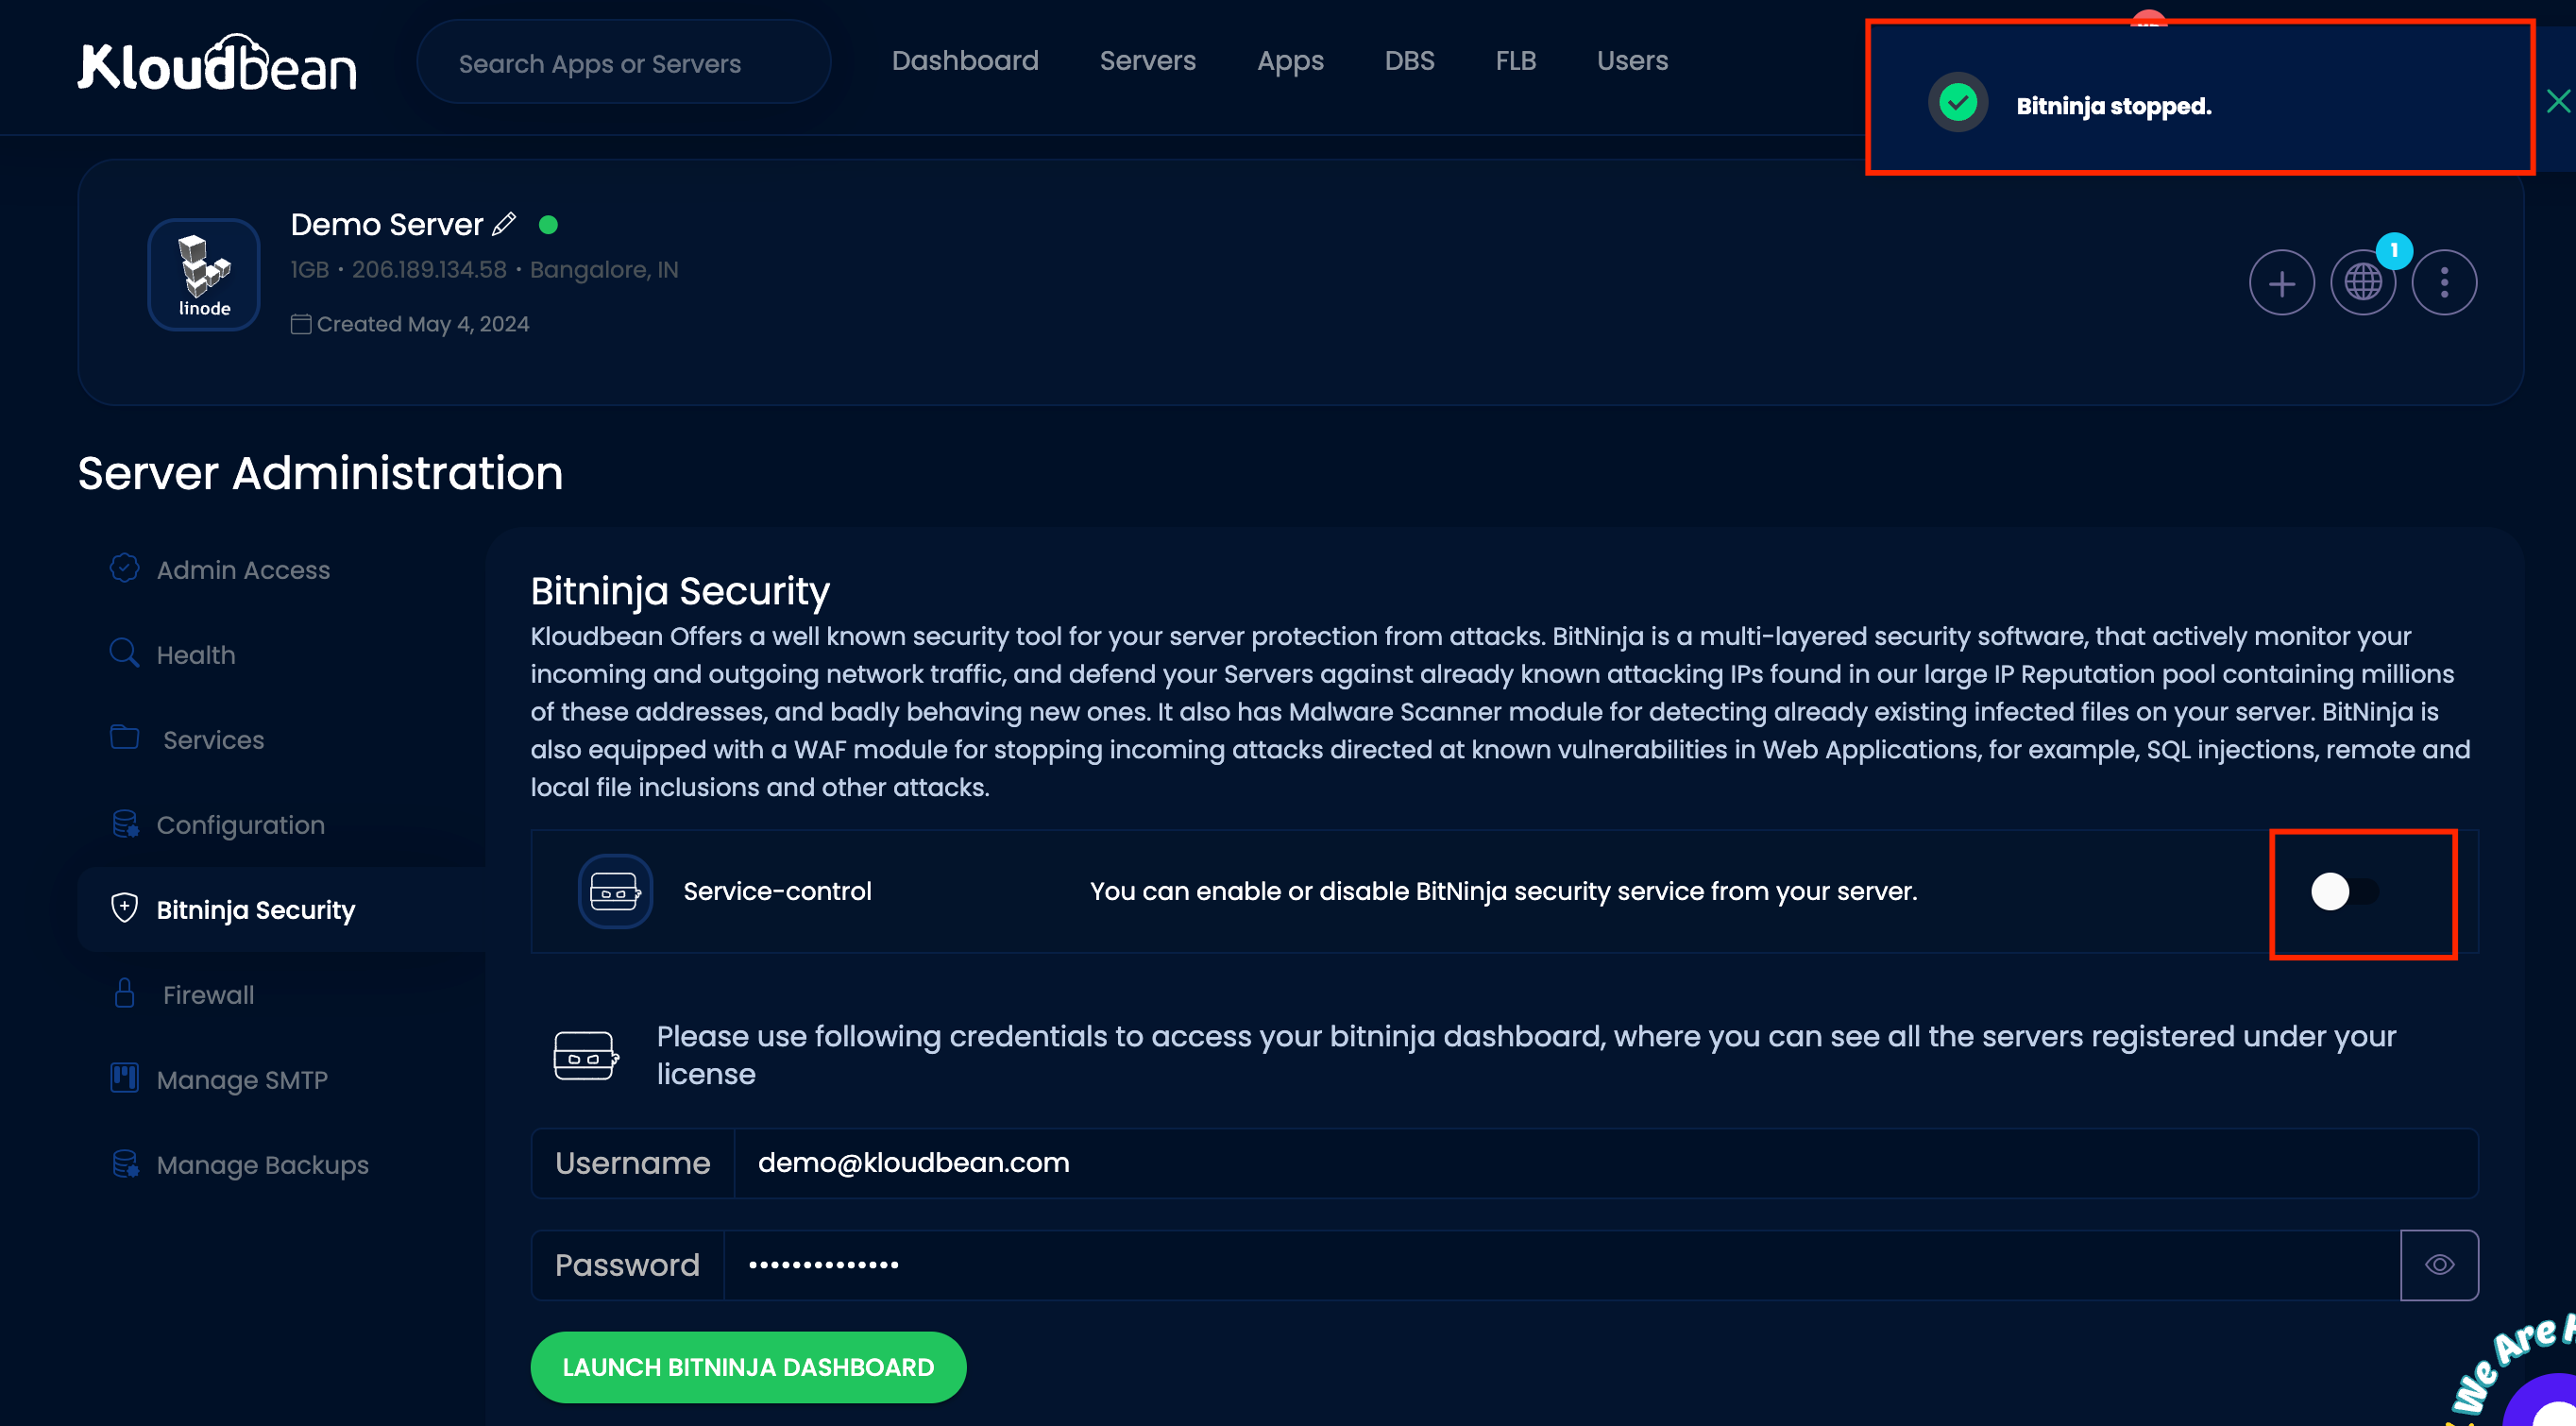
Disabling BitNinja is straightforward. Users can simply toggle the button off, and BitNinja services will be stopped on the server.
How to Whitelist IPs under BitNinja ?
Step 1: Login Bitninja dashboard with the help of credentials from kloudbean console
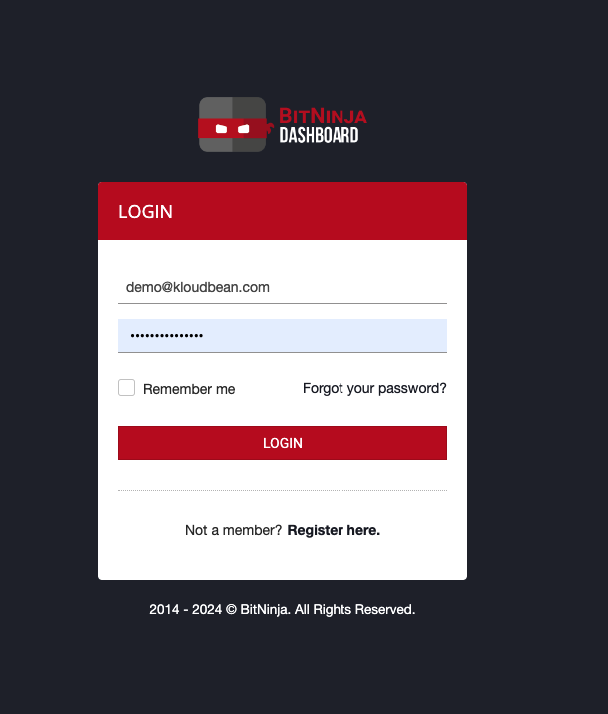
Step 2: Once user will get access for dashboard.
- Click on firewall
- Once you click on the firewall settings, you'll find various options in the submenus. One of these options is the "Allow List."
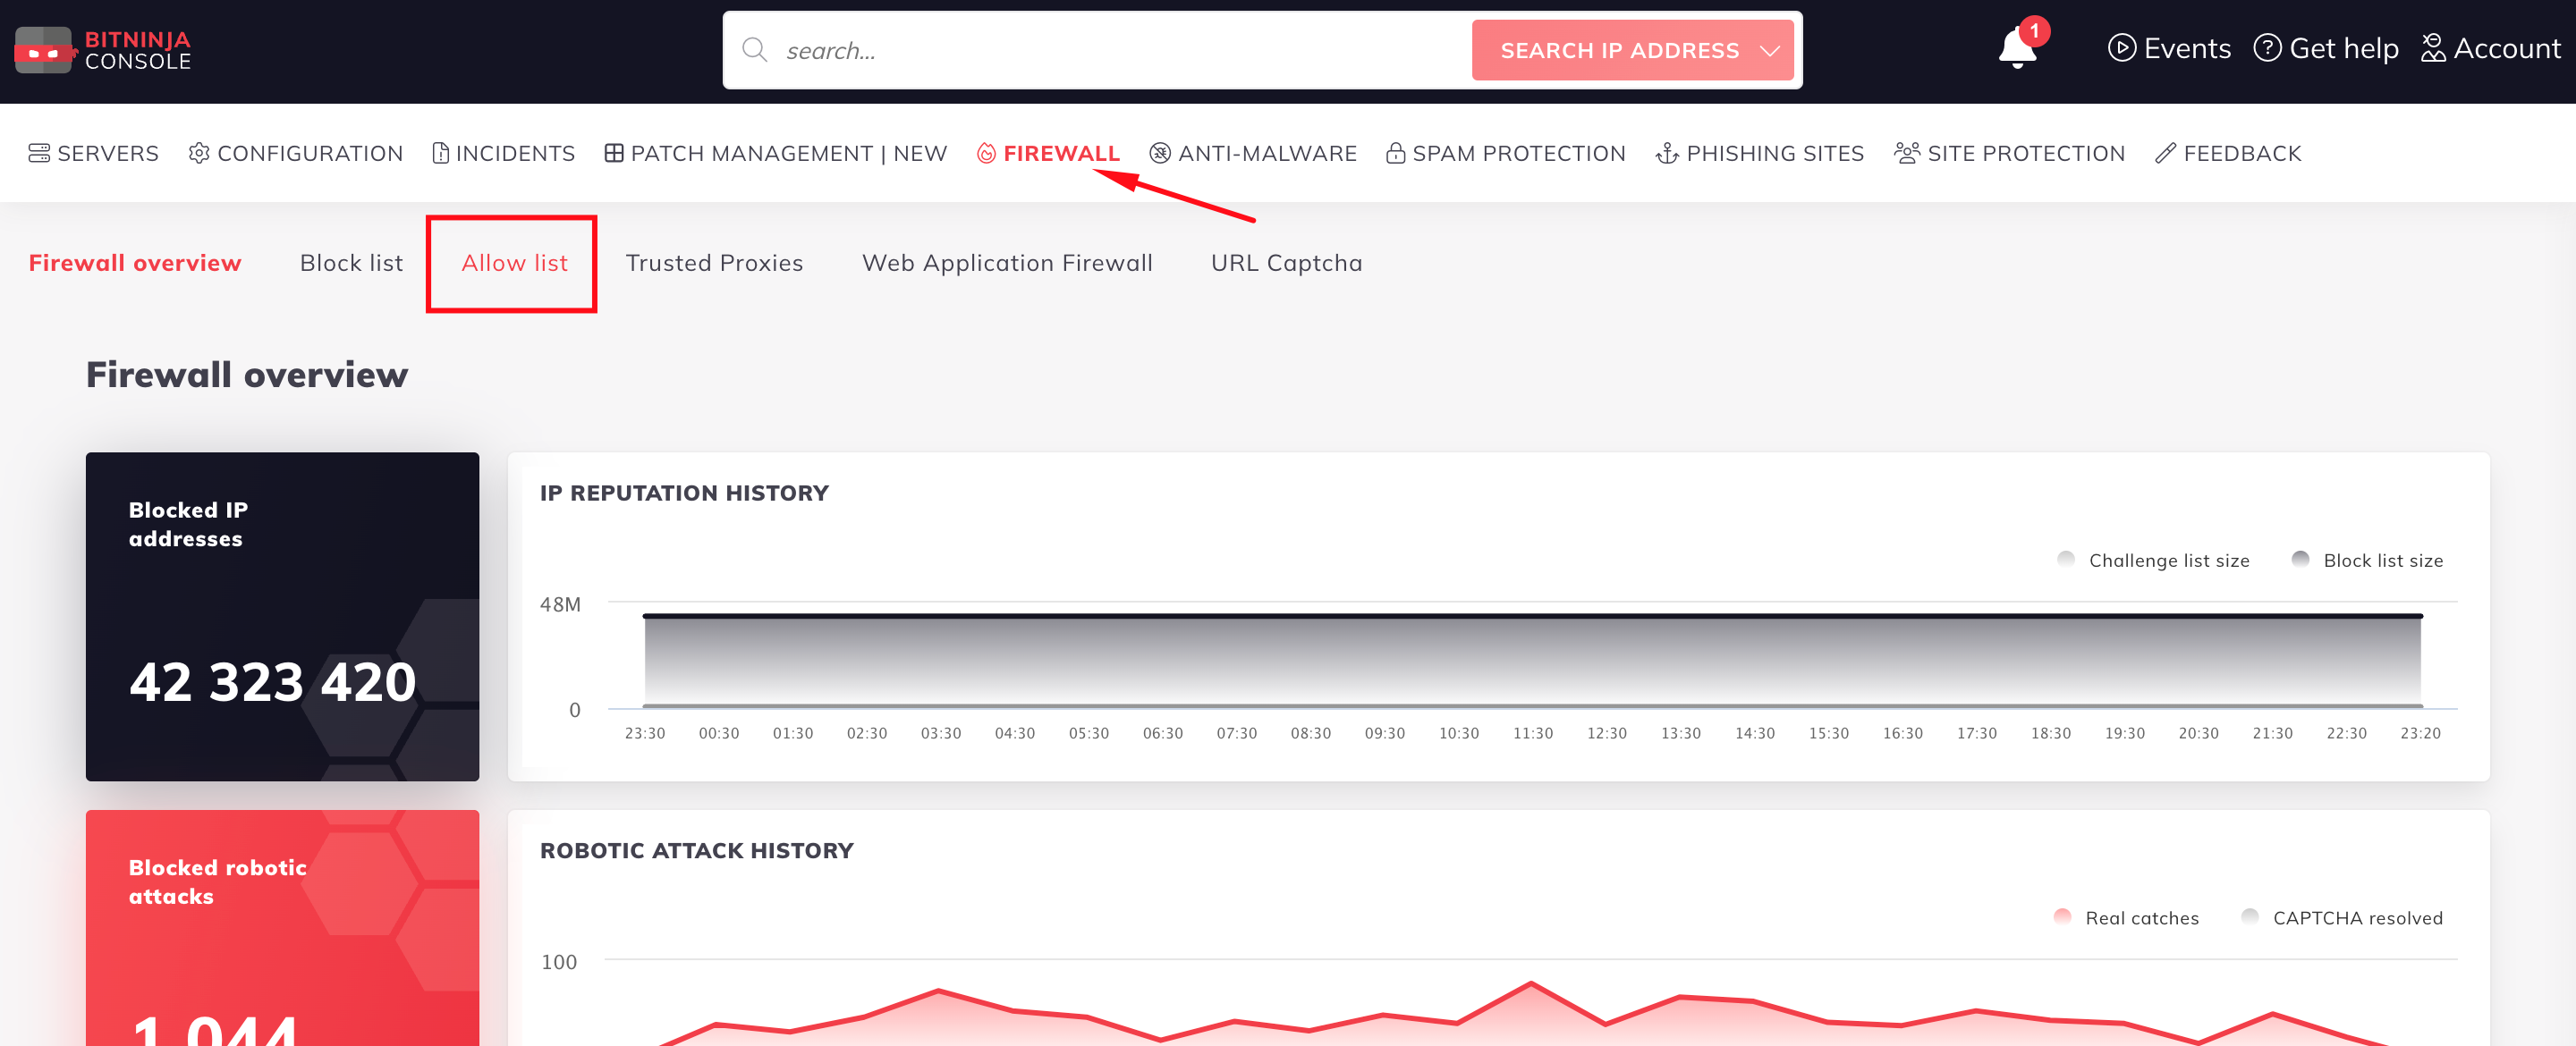
3. When you select the "Allow List," you'll encounter three options: "IP," "Countries," and "ASN." Pick "IP" if you want to whitelist specific IP addresses.

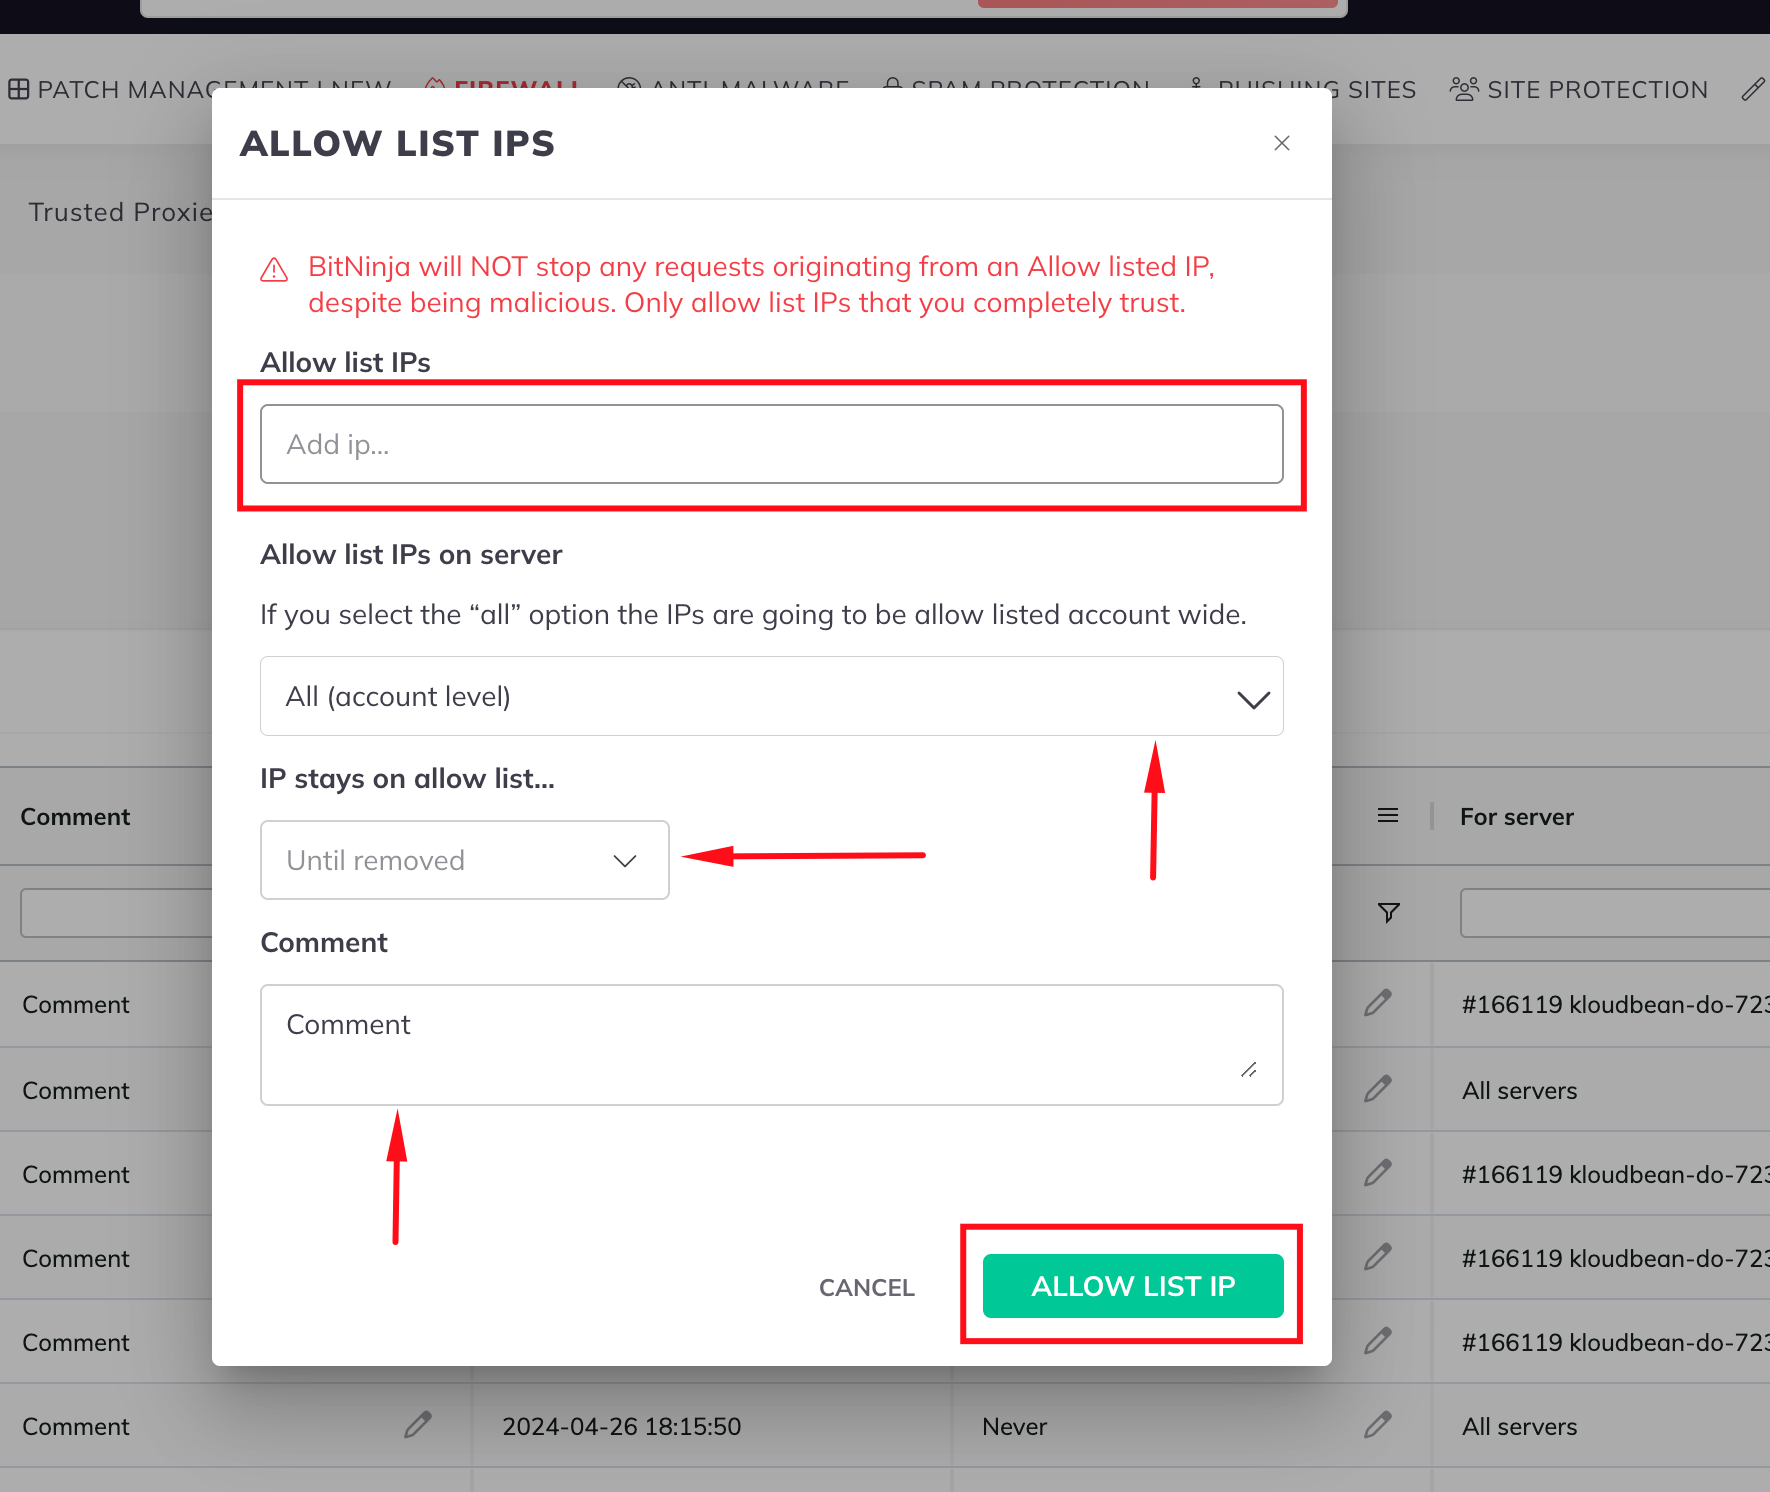
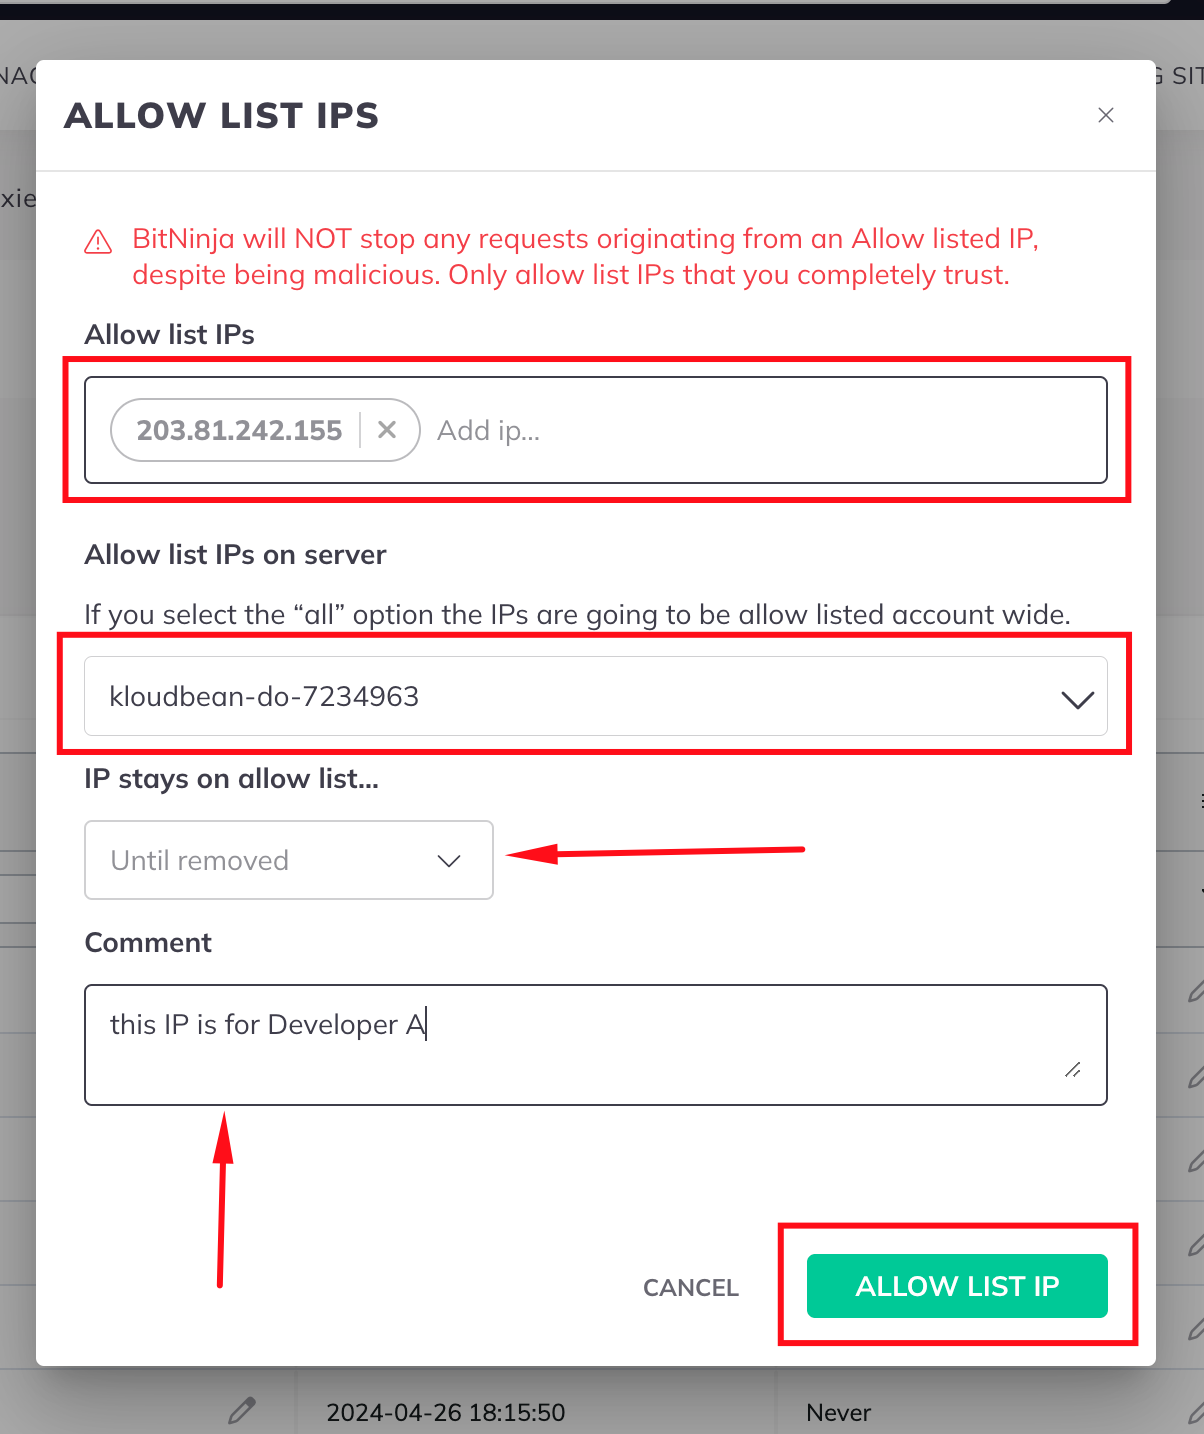
4. After click on Allow List IPS there is pop-up to add IPs for whitelist.
- Click "Allow List IPS."
- A pop-up appears.
- Enter IP addresses in the "Add IP" text box.
- Add multiple IPs if needed.
- Choose how long IPs stay on the whitelist: 1 hour, 12 hours, custom, or until removed.
- Add comments if necessary.
